3. Computer Aided design
This week I worked on defining my final project idea and started to getting used to the documentation process.
2D design with Inkscape
Since I am new to Inkscape, this week was also about learning the basic tools, workflows, and methods for precise 2D modeling. Inkscape was chosen because it suspports accurate geometric design, layer management and exports to SVG formats which are commonly used in digital fabrication.
My hand sketch helped me define the main idea, proportions and visual structure.
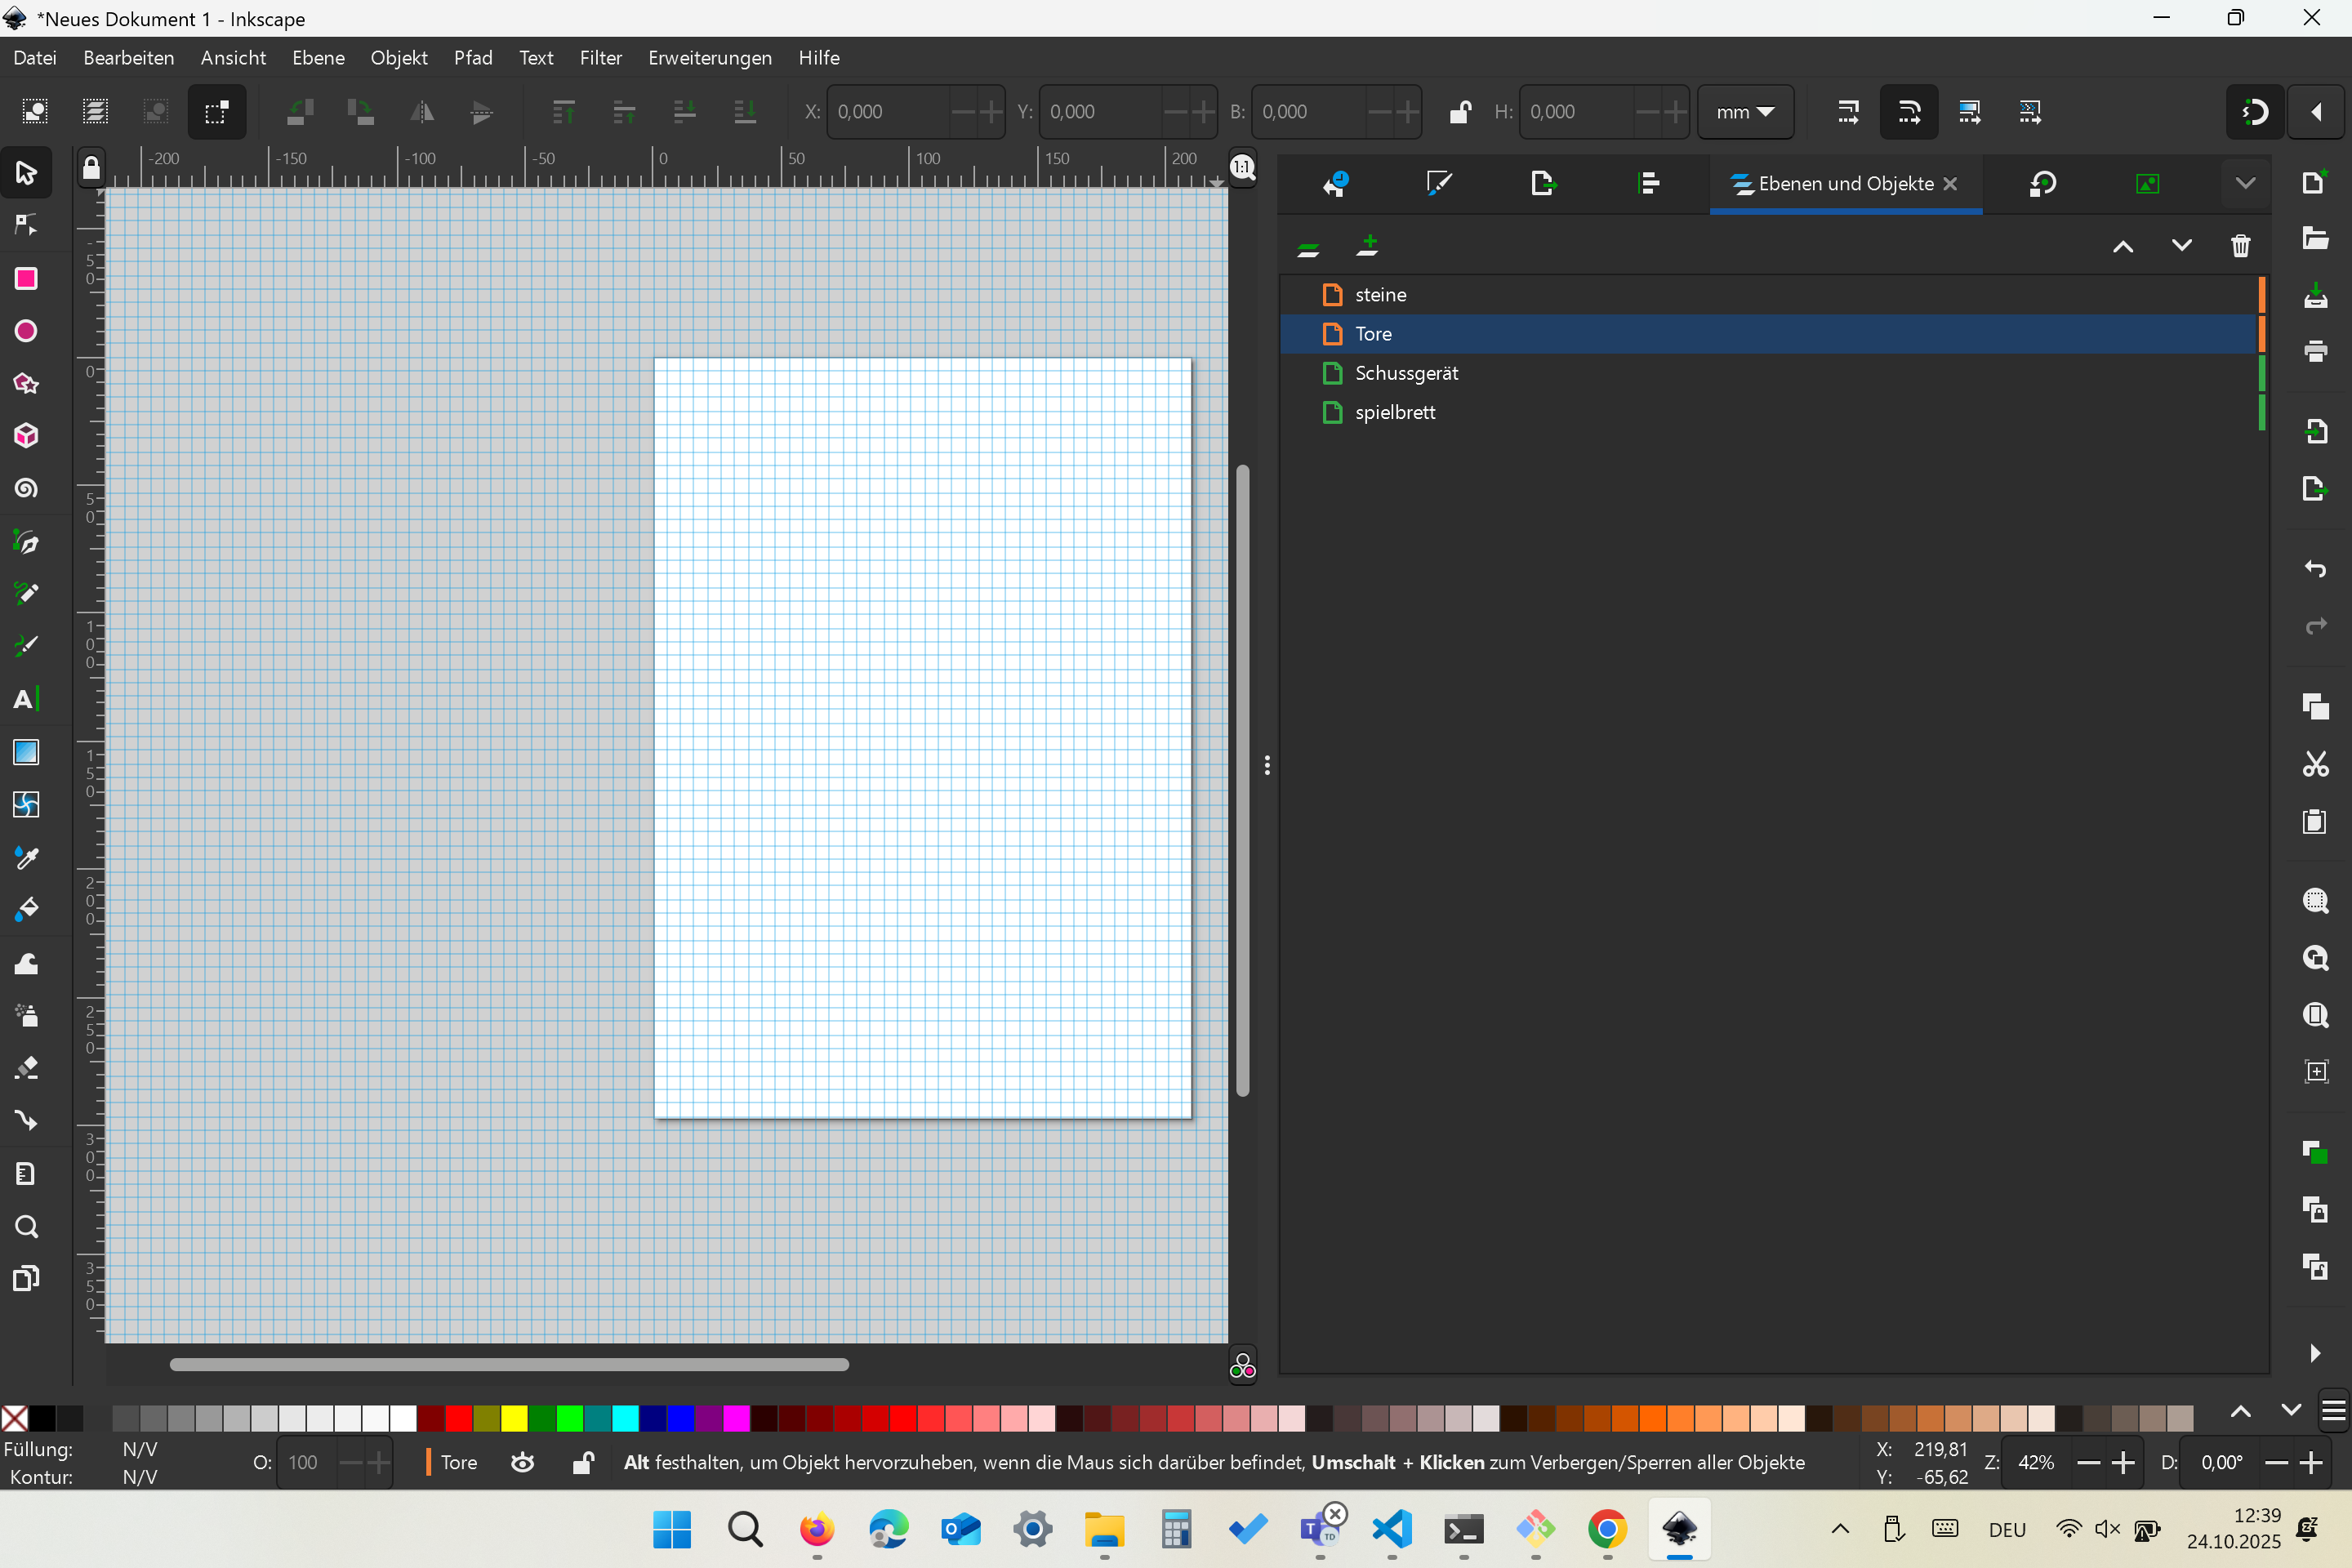
Since I’m working with Inkscape the first time, I started exploring the interface and setting up my workspace properly:
-
change document units to millimeters (mm) for accurate scaling - CAREFUL! you have to change it every time otherwise your working with inches!
-
adjust the page size (you can use ctrl+shift+R so the page snaps to your model)
-
turned on grids (press #) and snapping (magnet icon on the top right side) to make it easier to align objects
-
create different layers for the different components
I started modeling basic shapes:
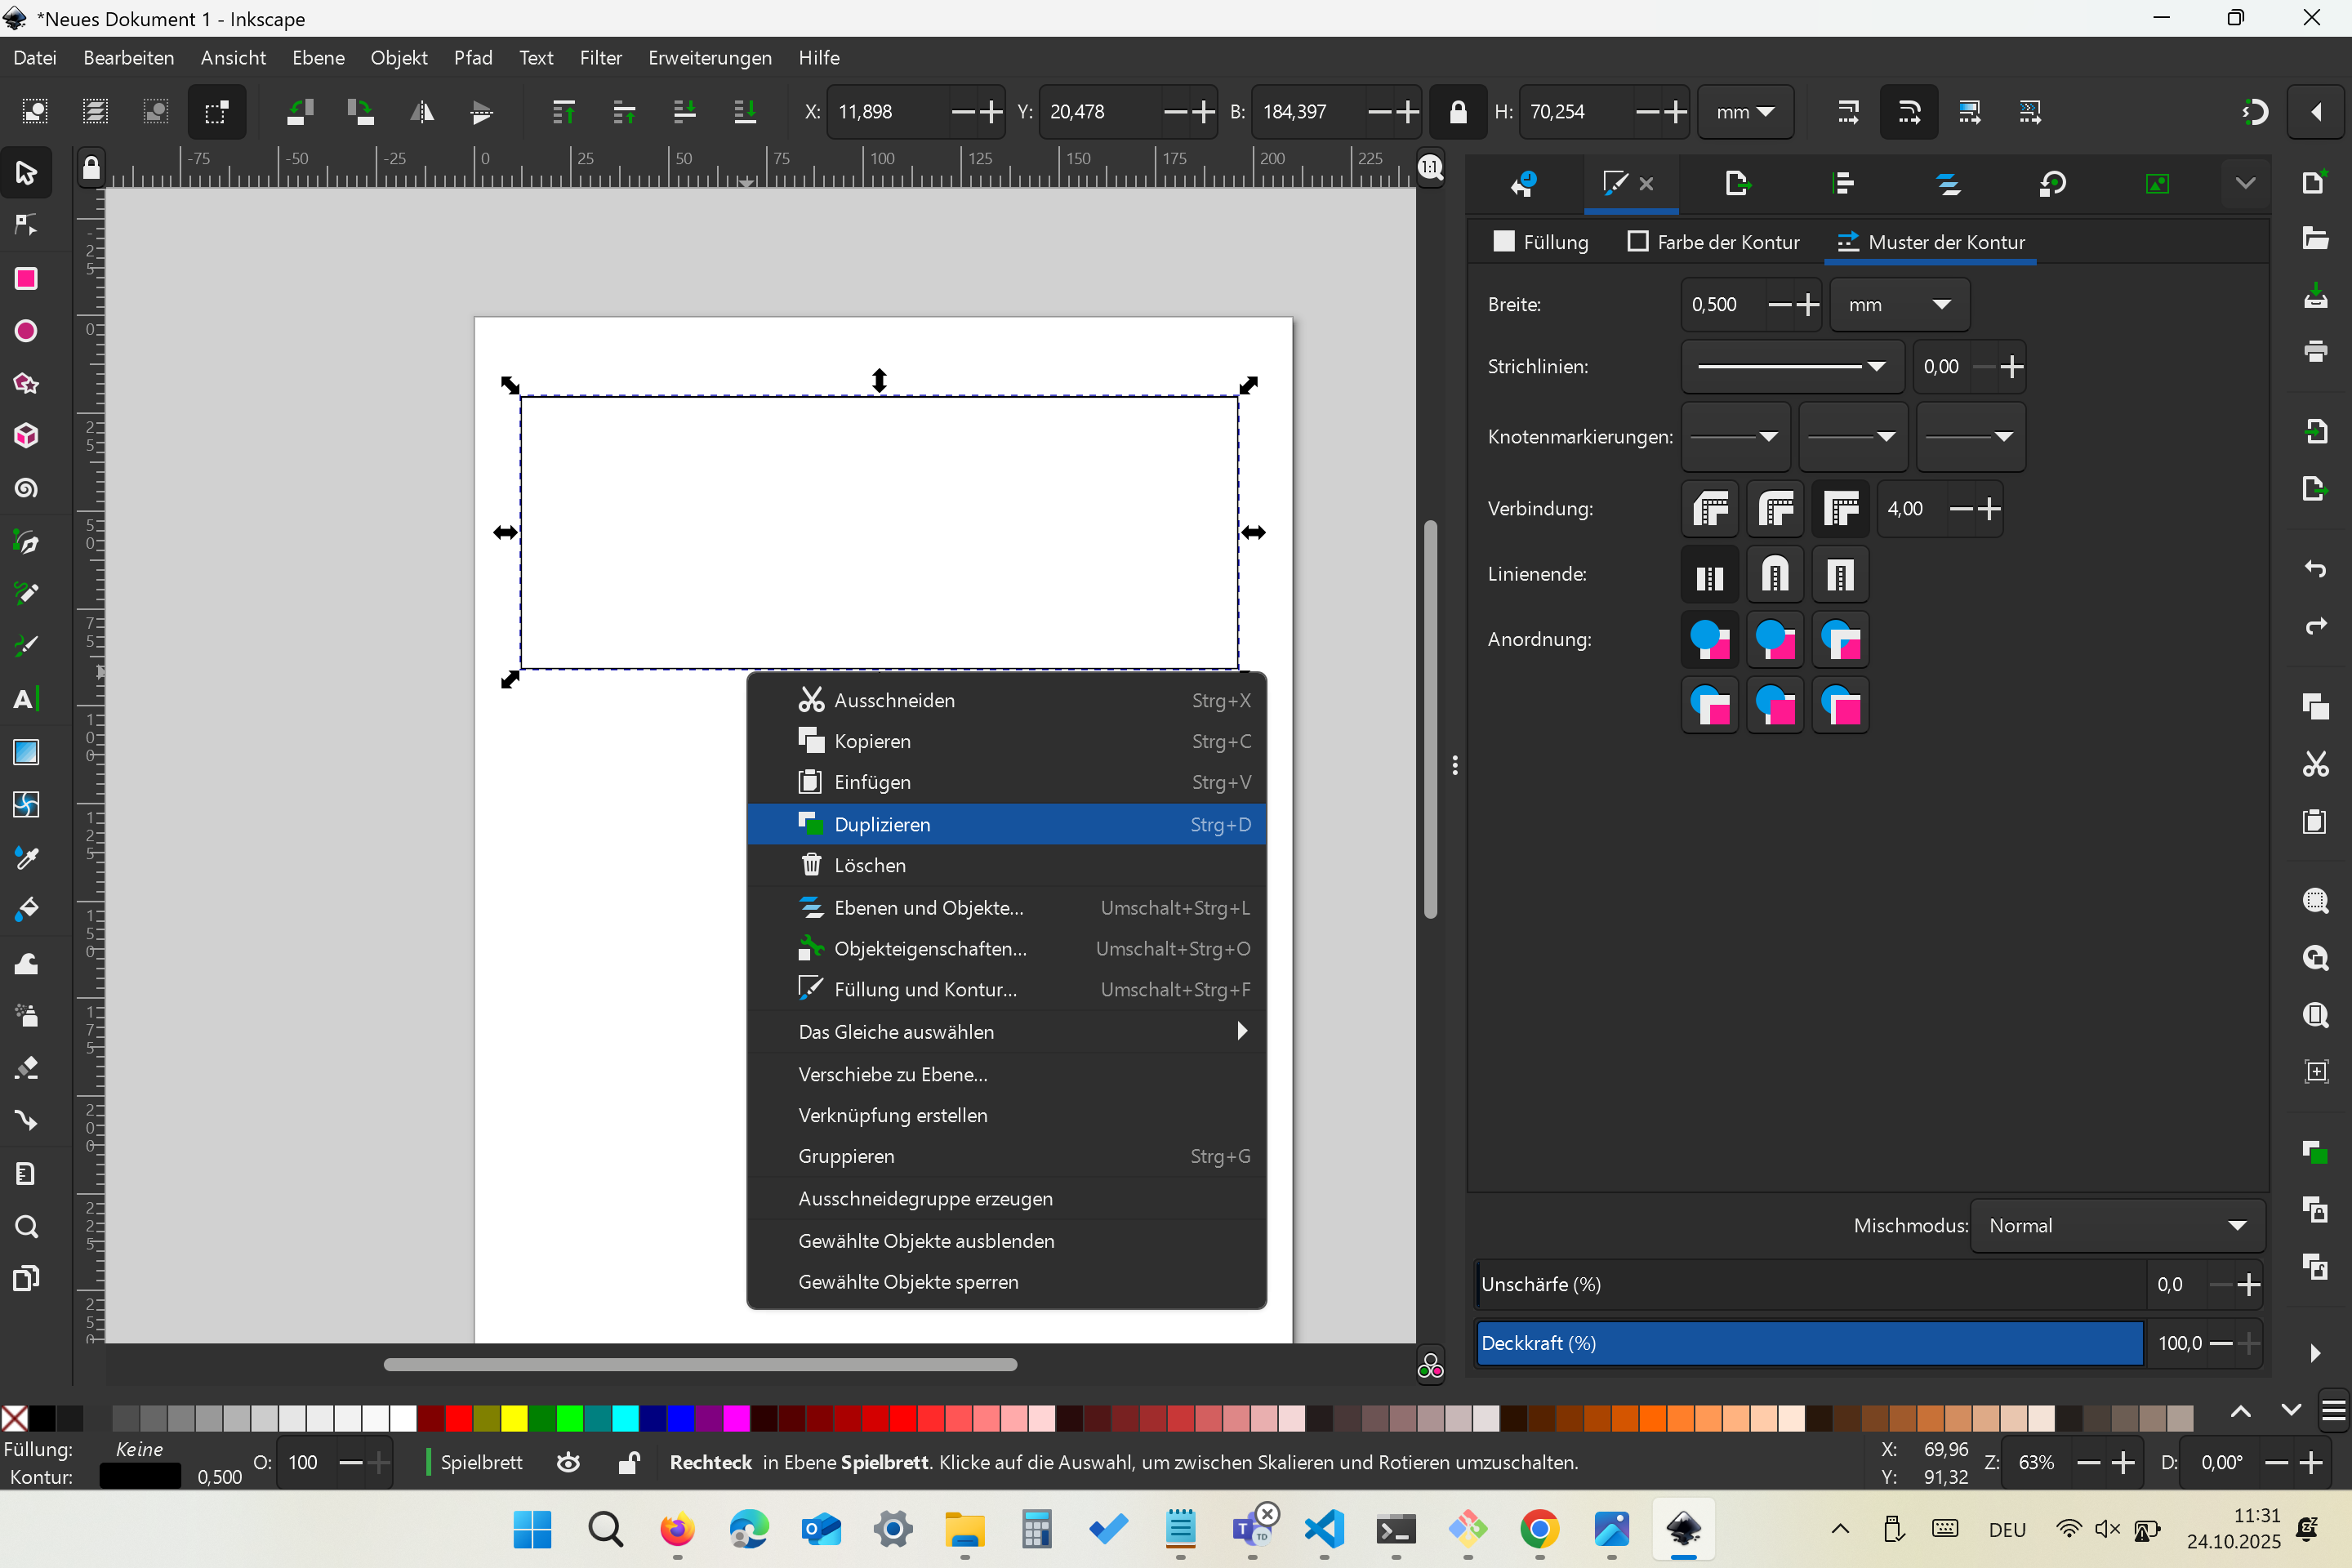
- drew a rectangle for the main plate using the Rectangle tool (R)
- Created a second rectangle by duplicating the fist one
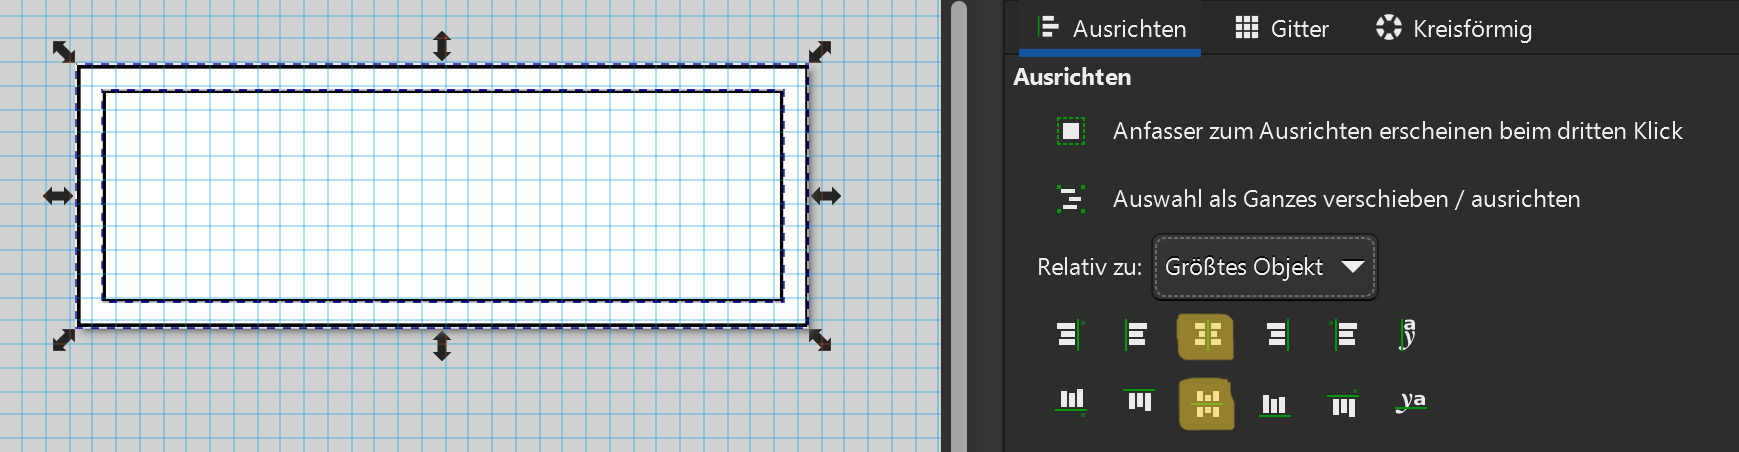
- Scaled the second rectangle down and aligned both to the same center using Object -> Align and Distribute -> Center on both axes
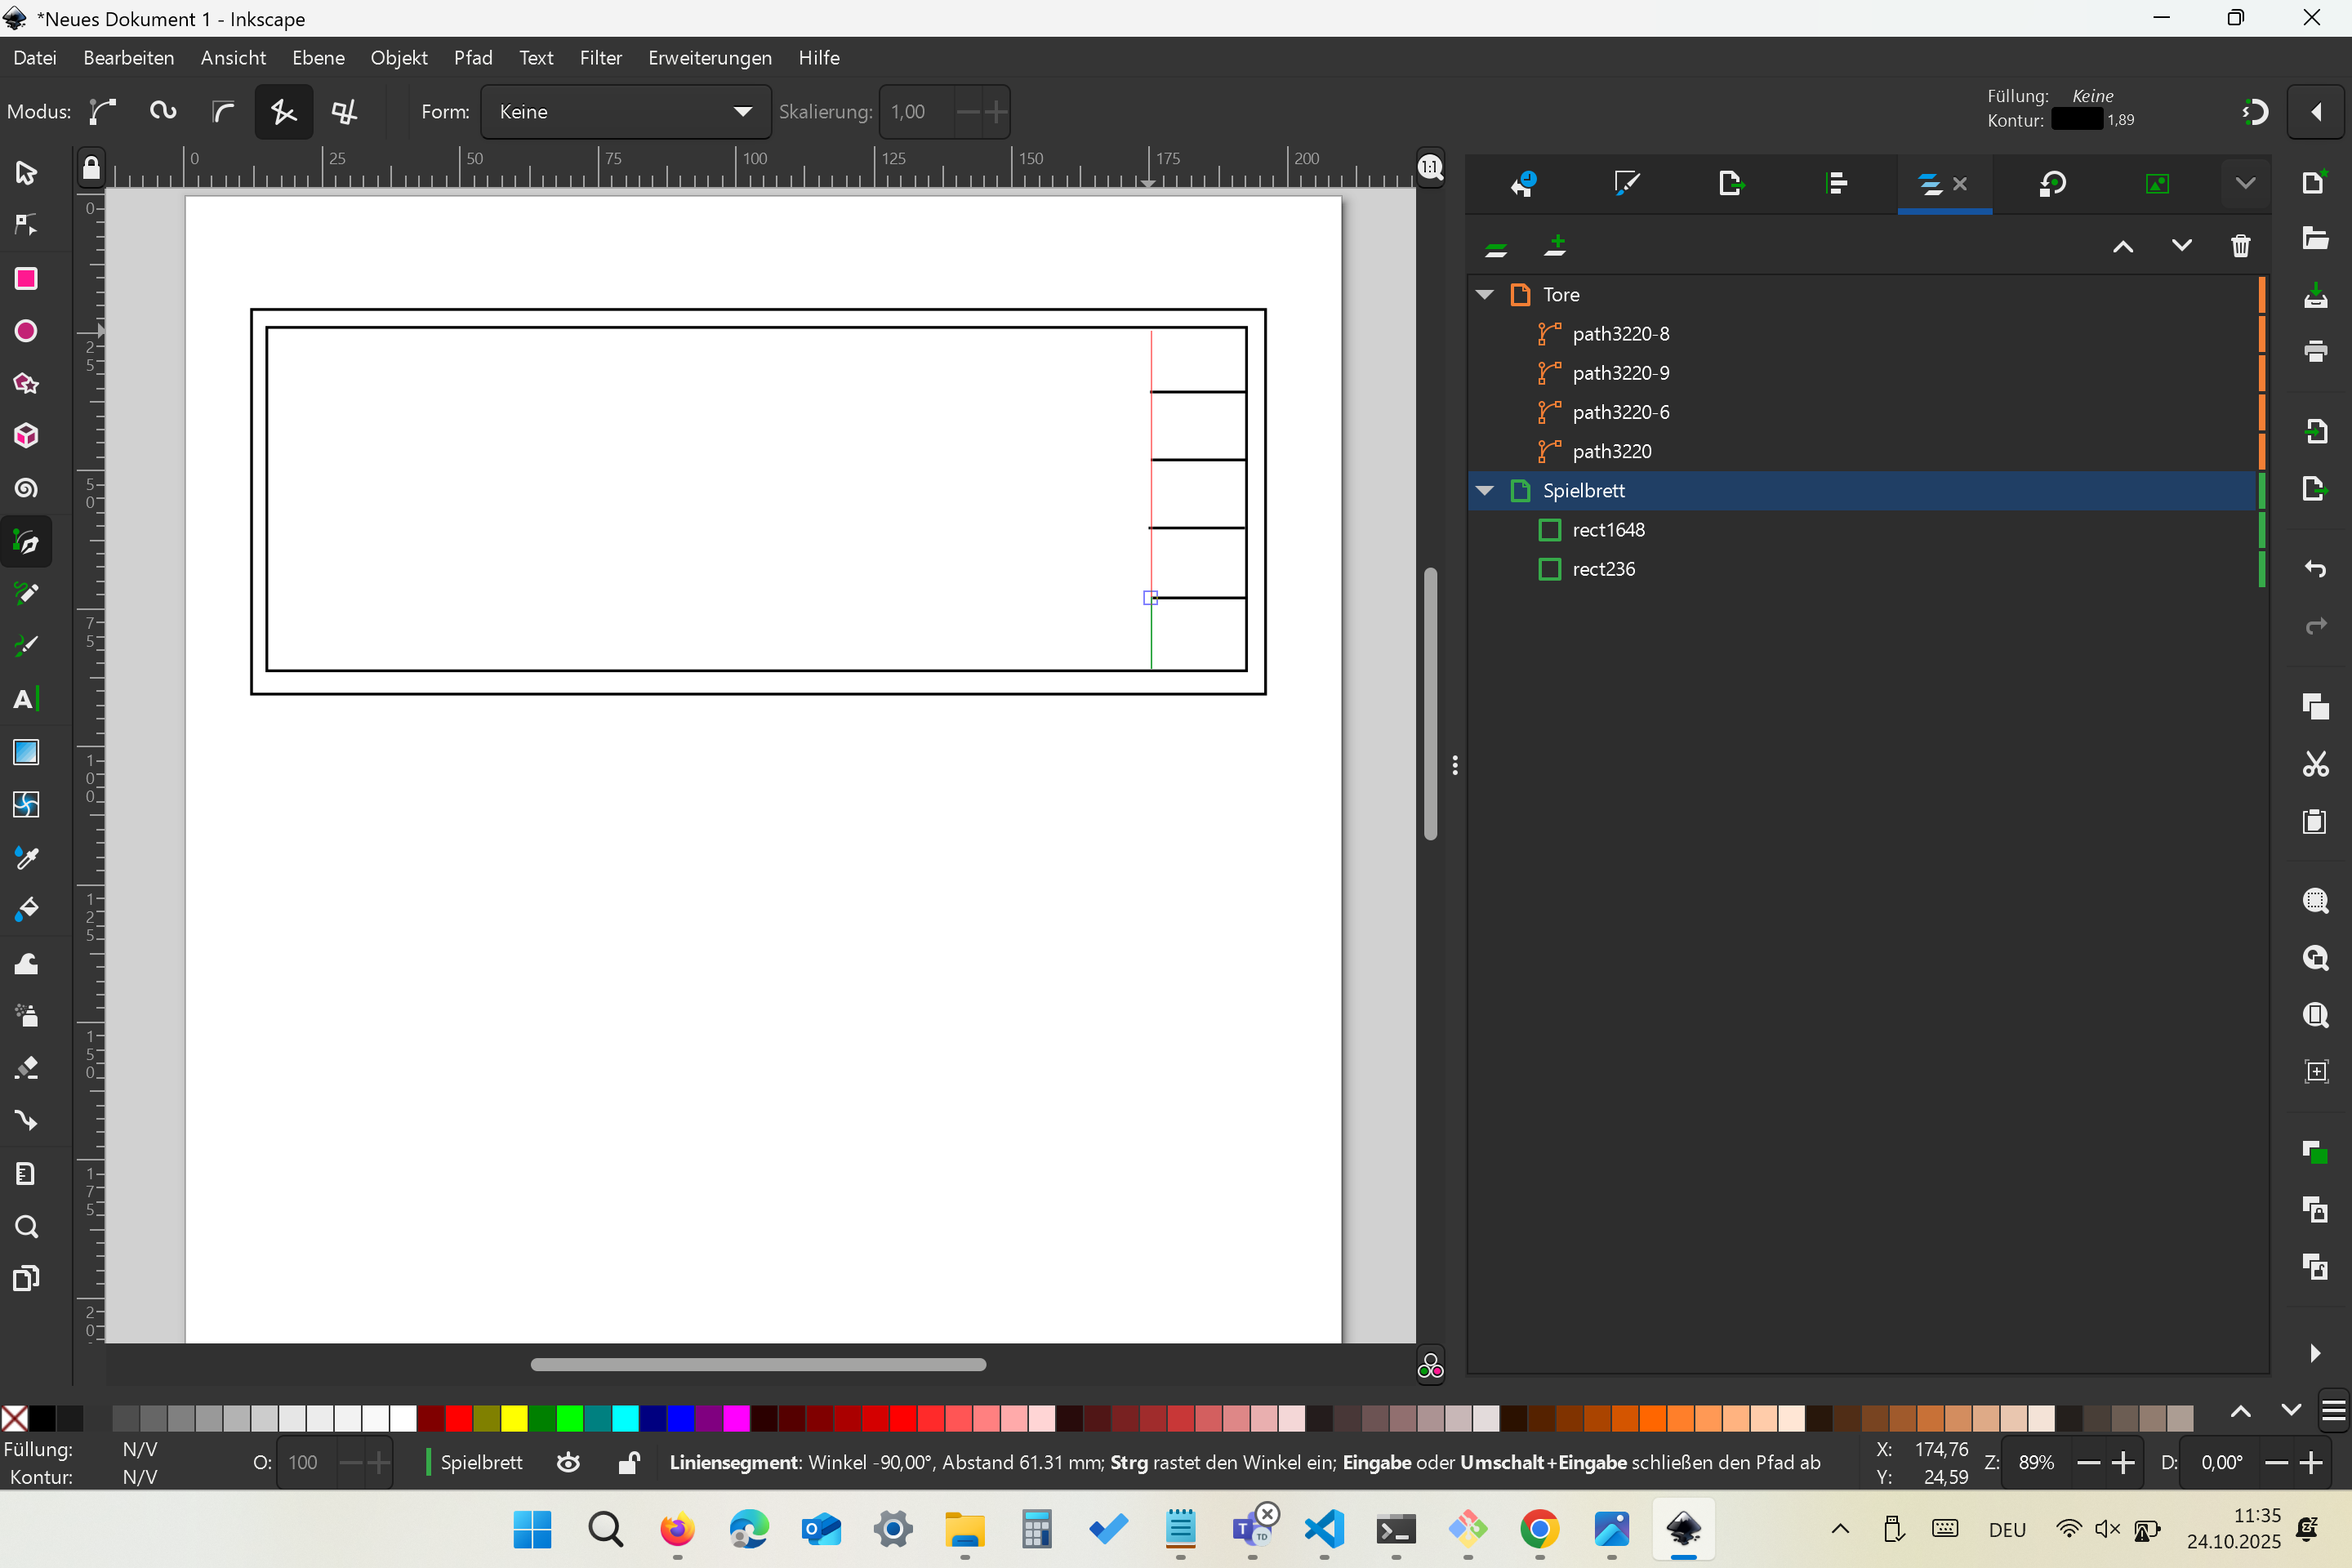
- Created the goals at the end of the gameboard
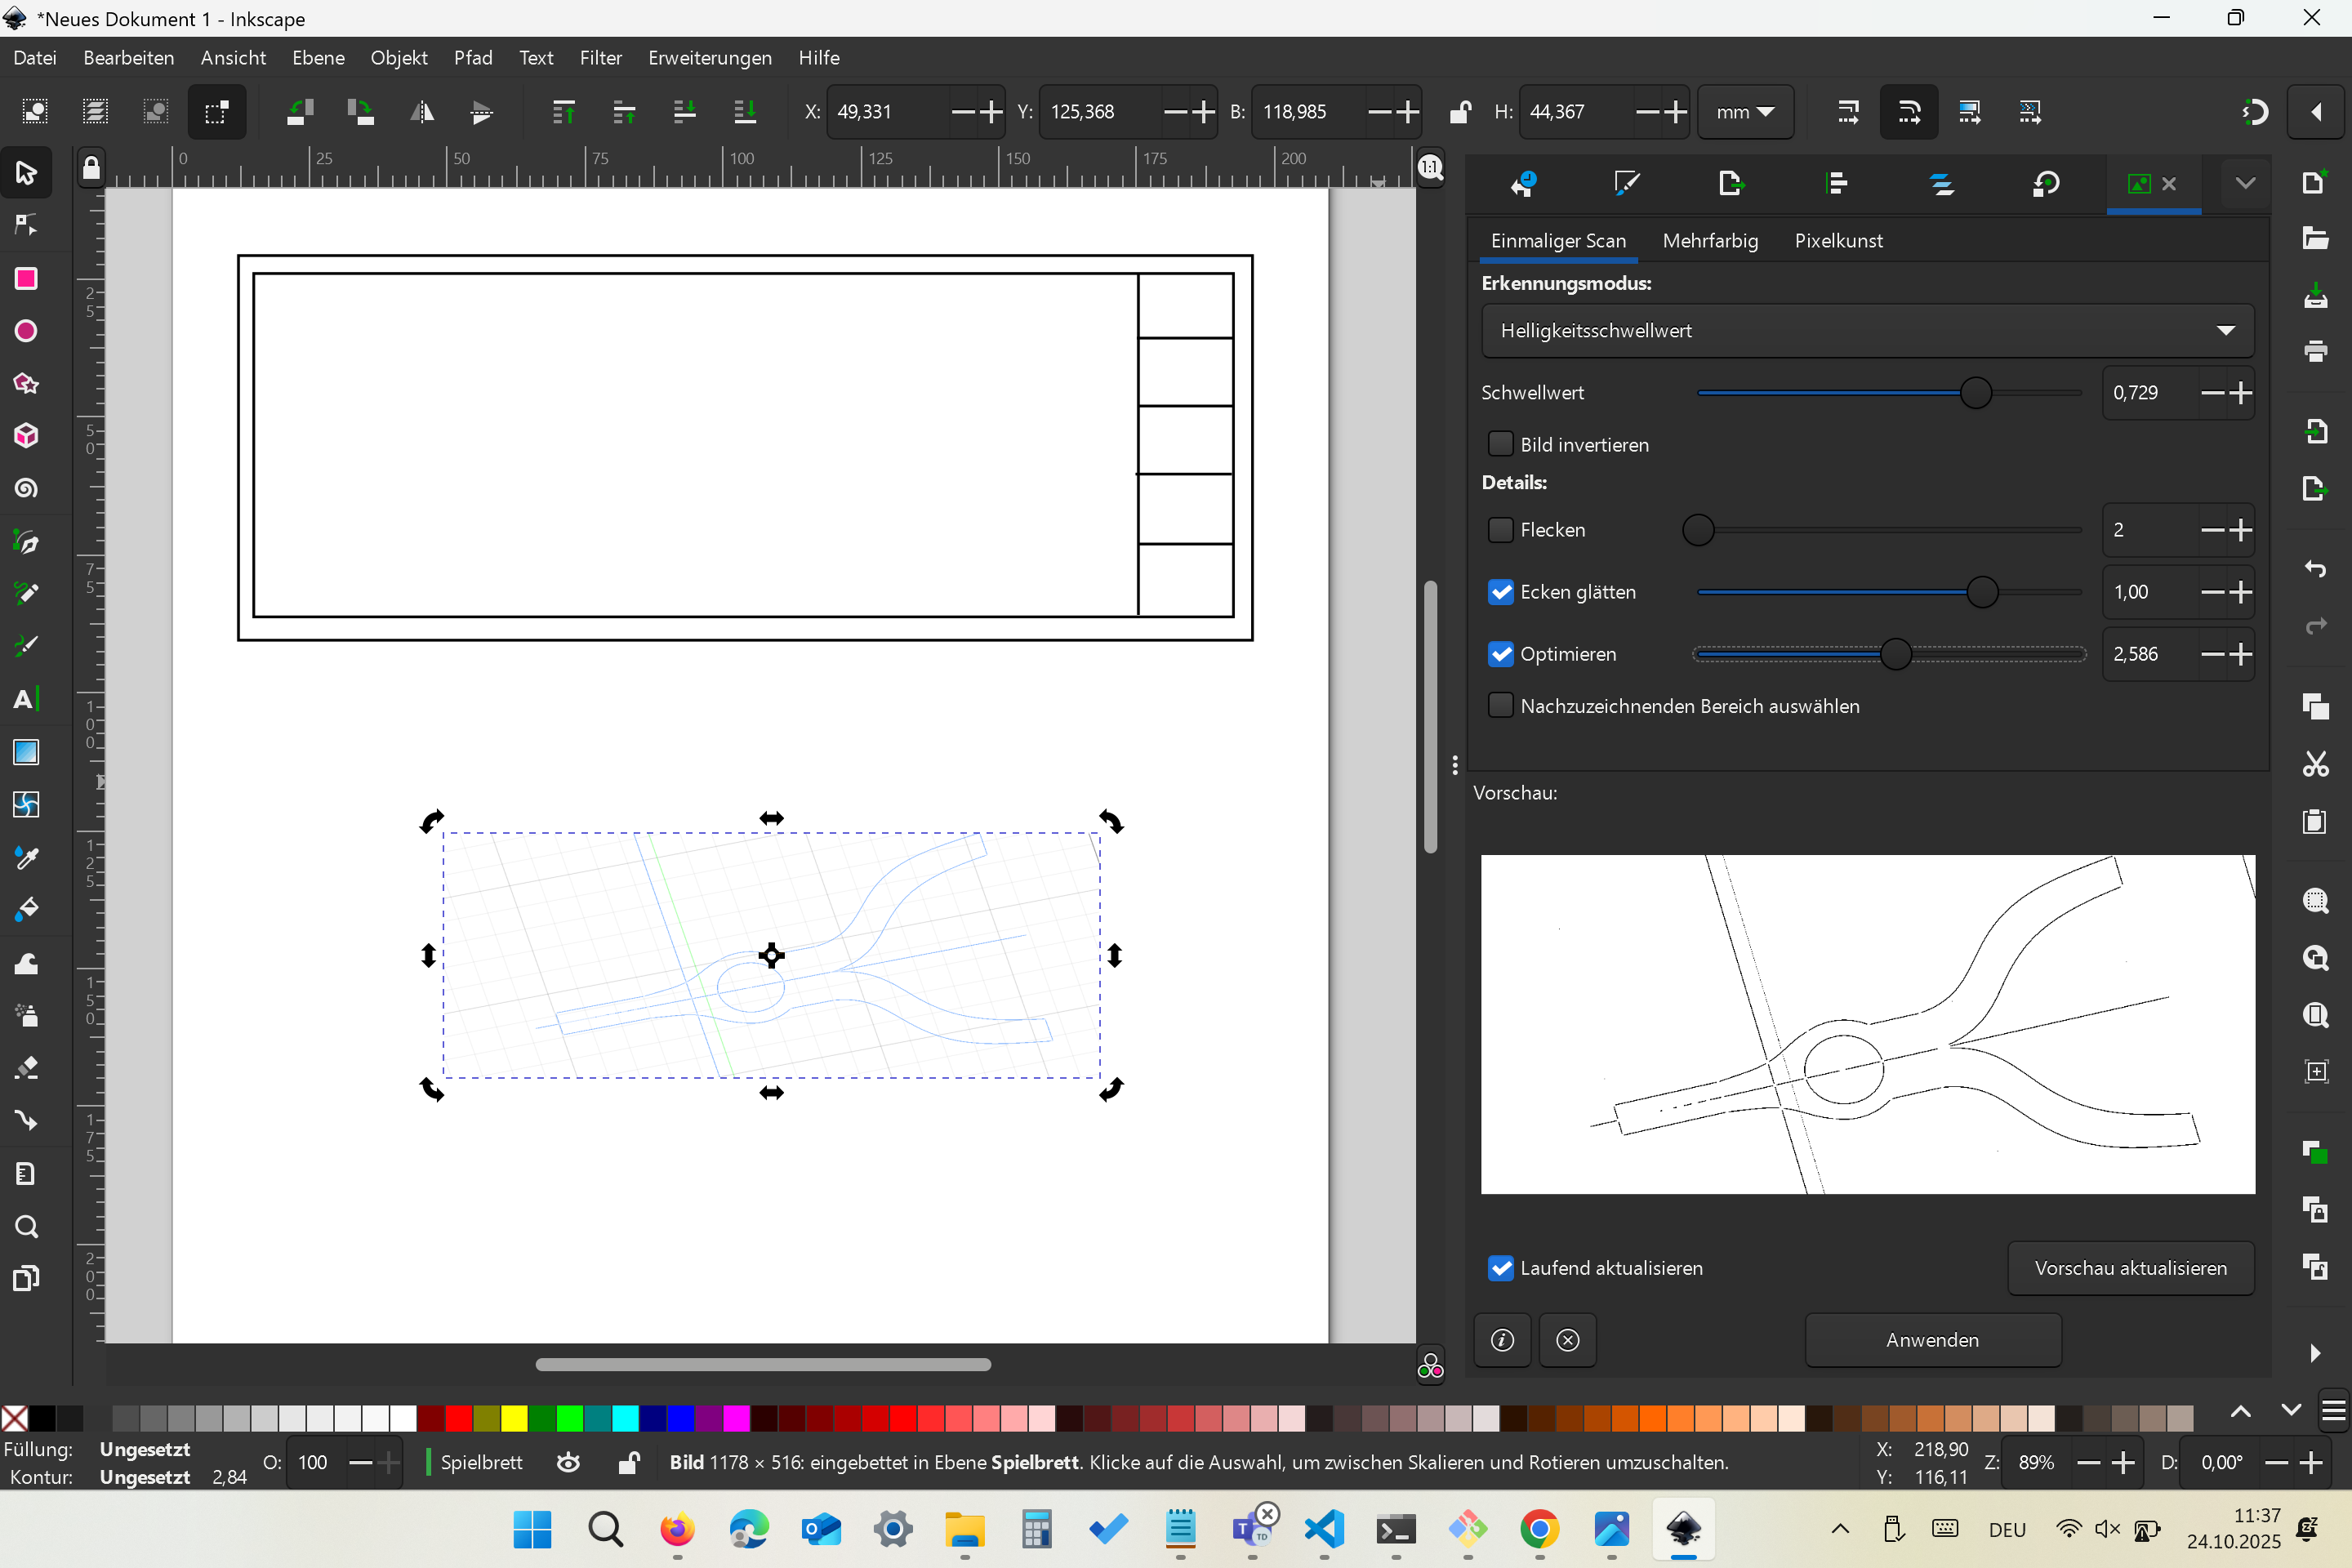
- The Outline of the shooting device I took from my CAD model. With Trace Bitmap I could get theshooting device and just had to do minor changes to that.
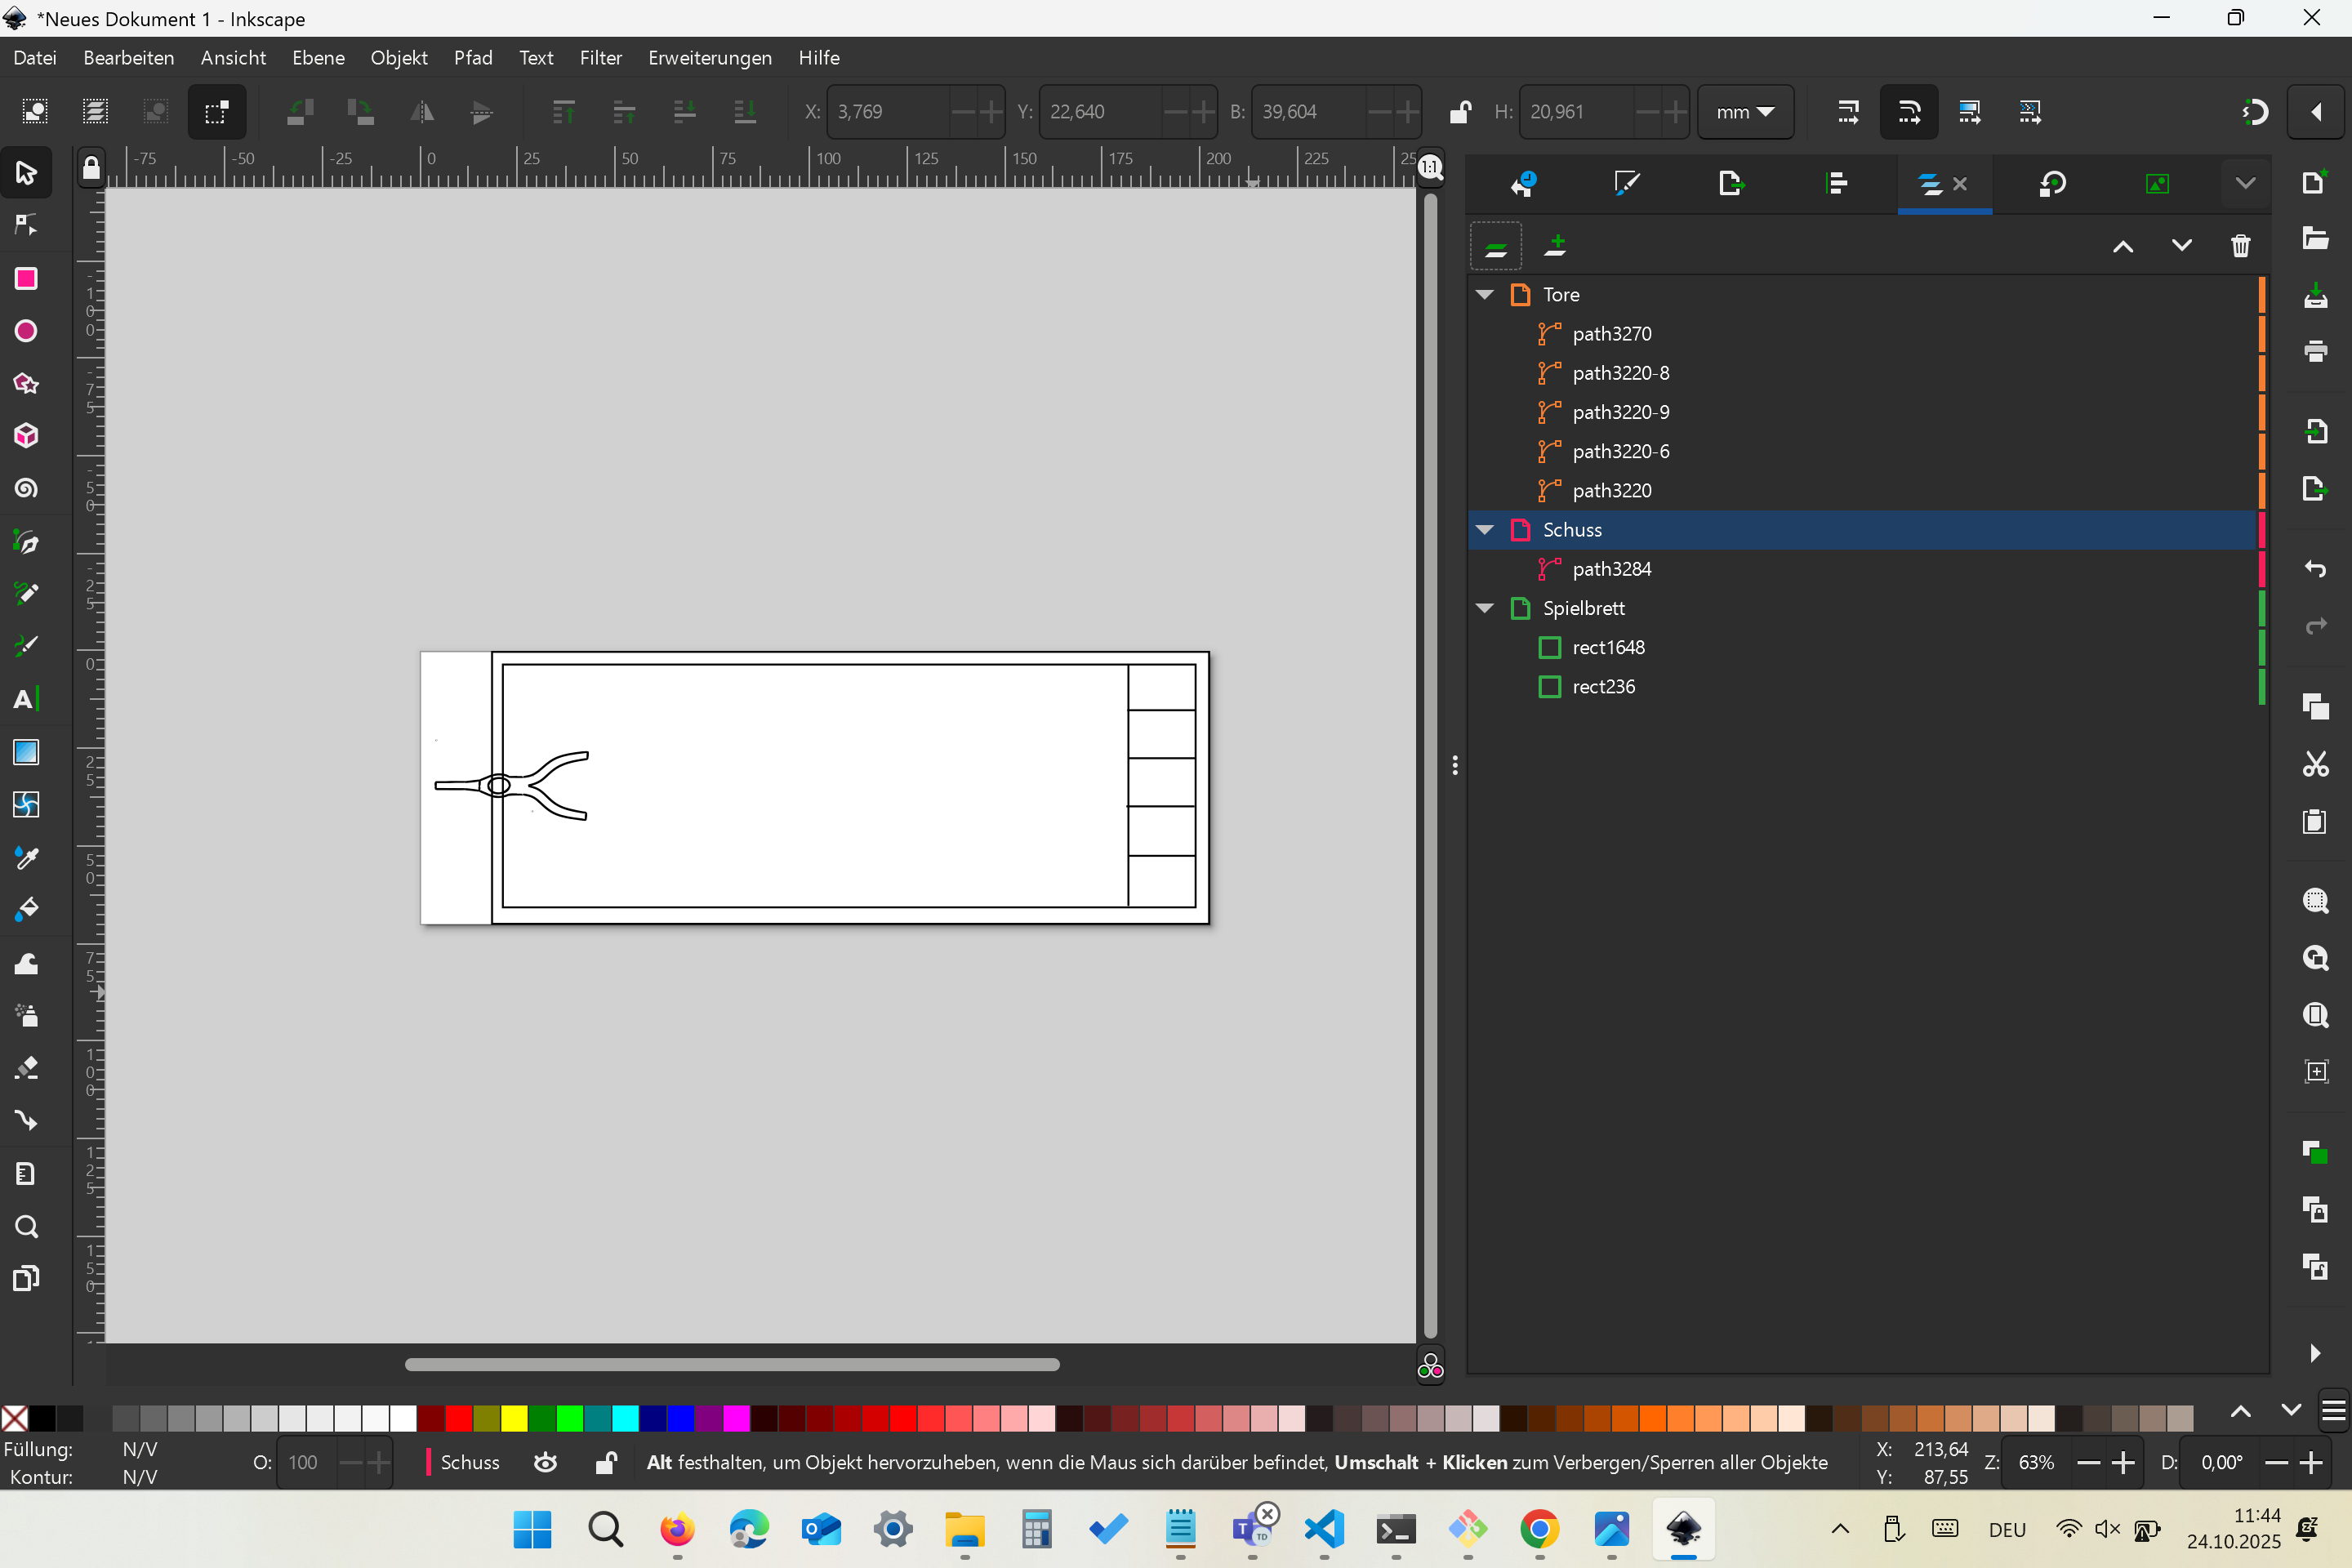
- Move the shootinig device to its correct position.
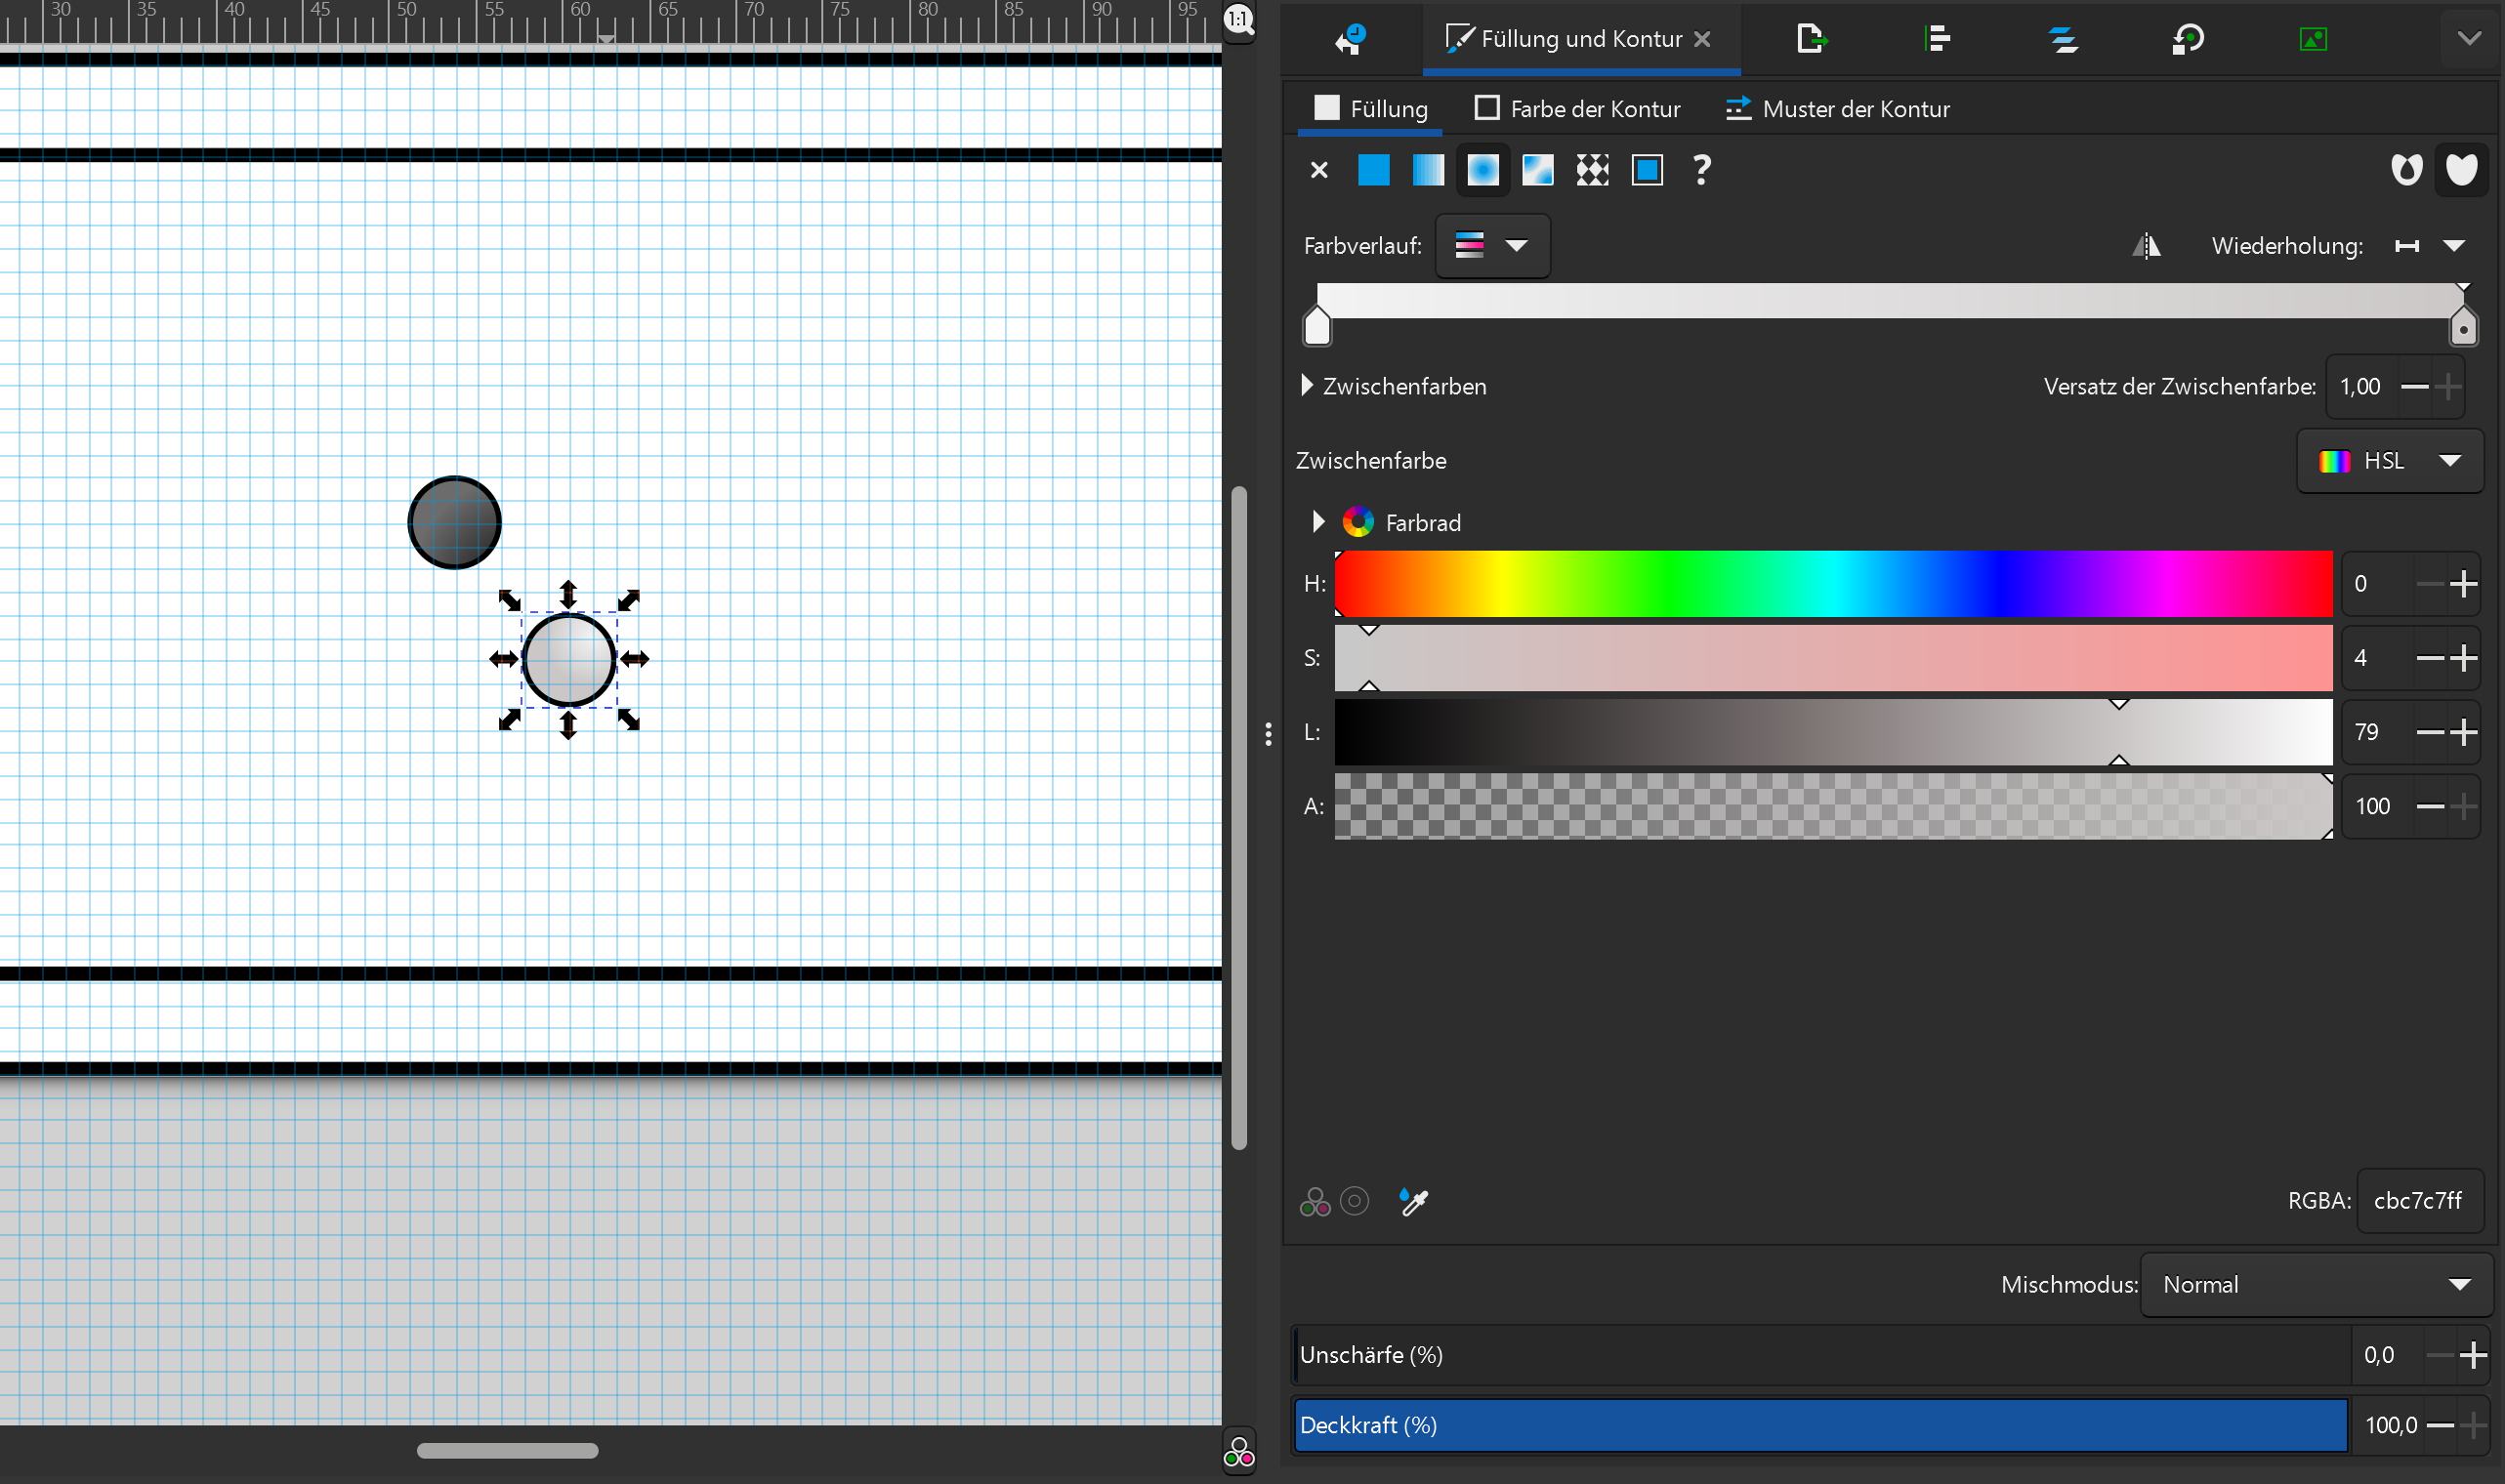
- drew a circle for the Puks using the Ellipse tool (E) and used Fill and Stroke to make them different colors
other useful things: scroll vertically by using shift + scroll; zoom by using Ctrl + scroll
Working with Fusion 360
As I’m a mechanical engineer, I work quite often with CAD programs. Fusion 360 was easy to understand for me because I have already worked with it before.
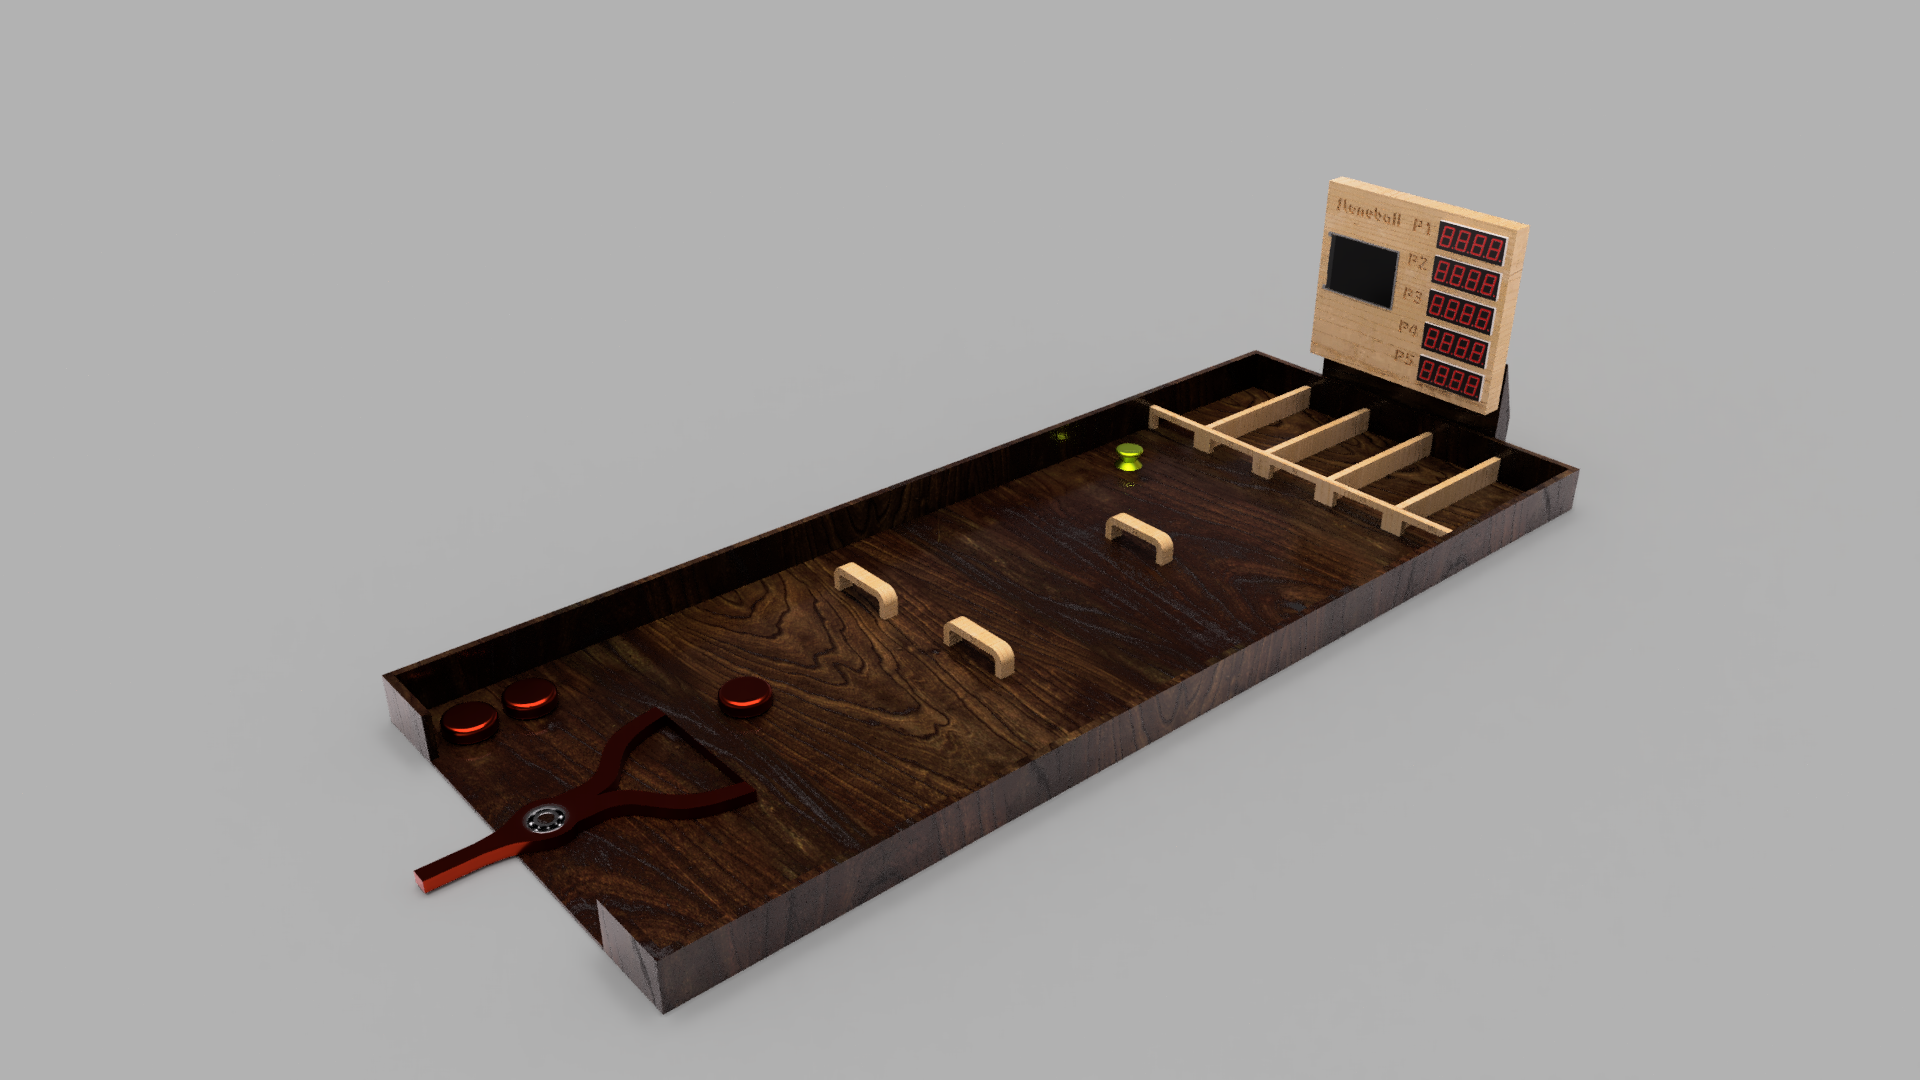
Final design of Stoneball
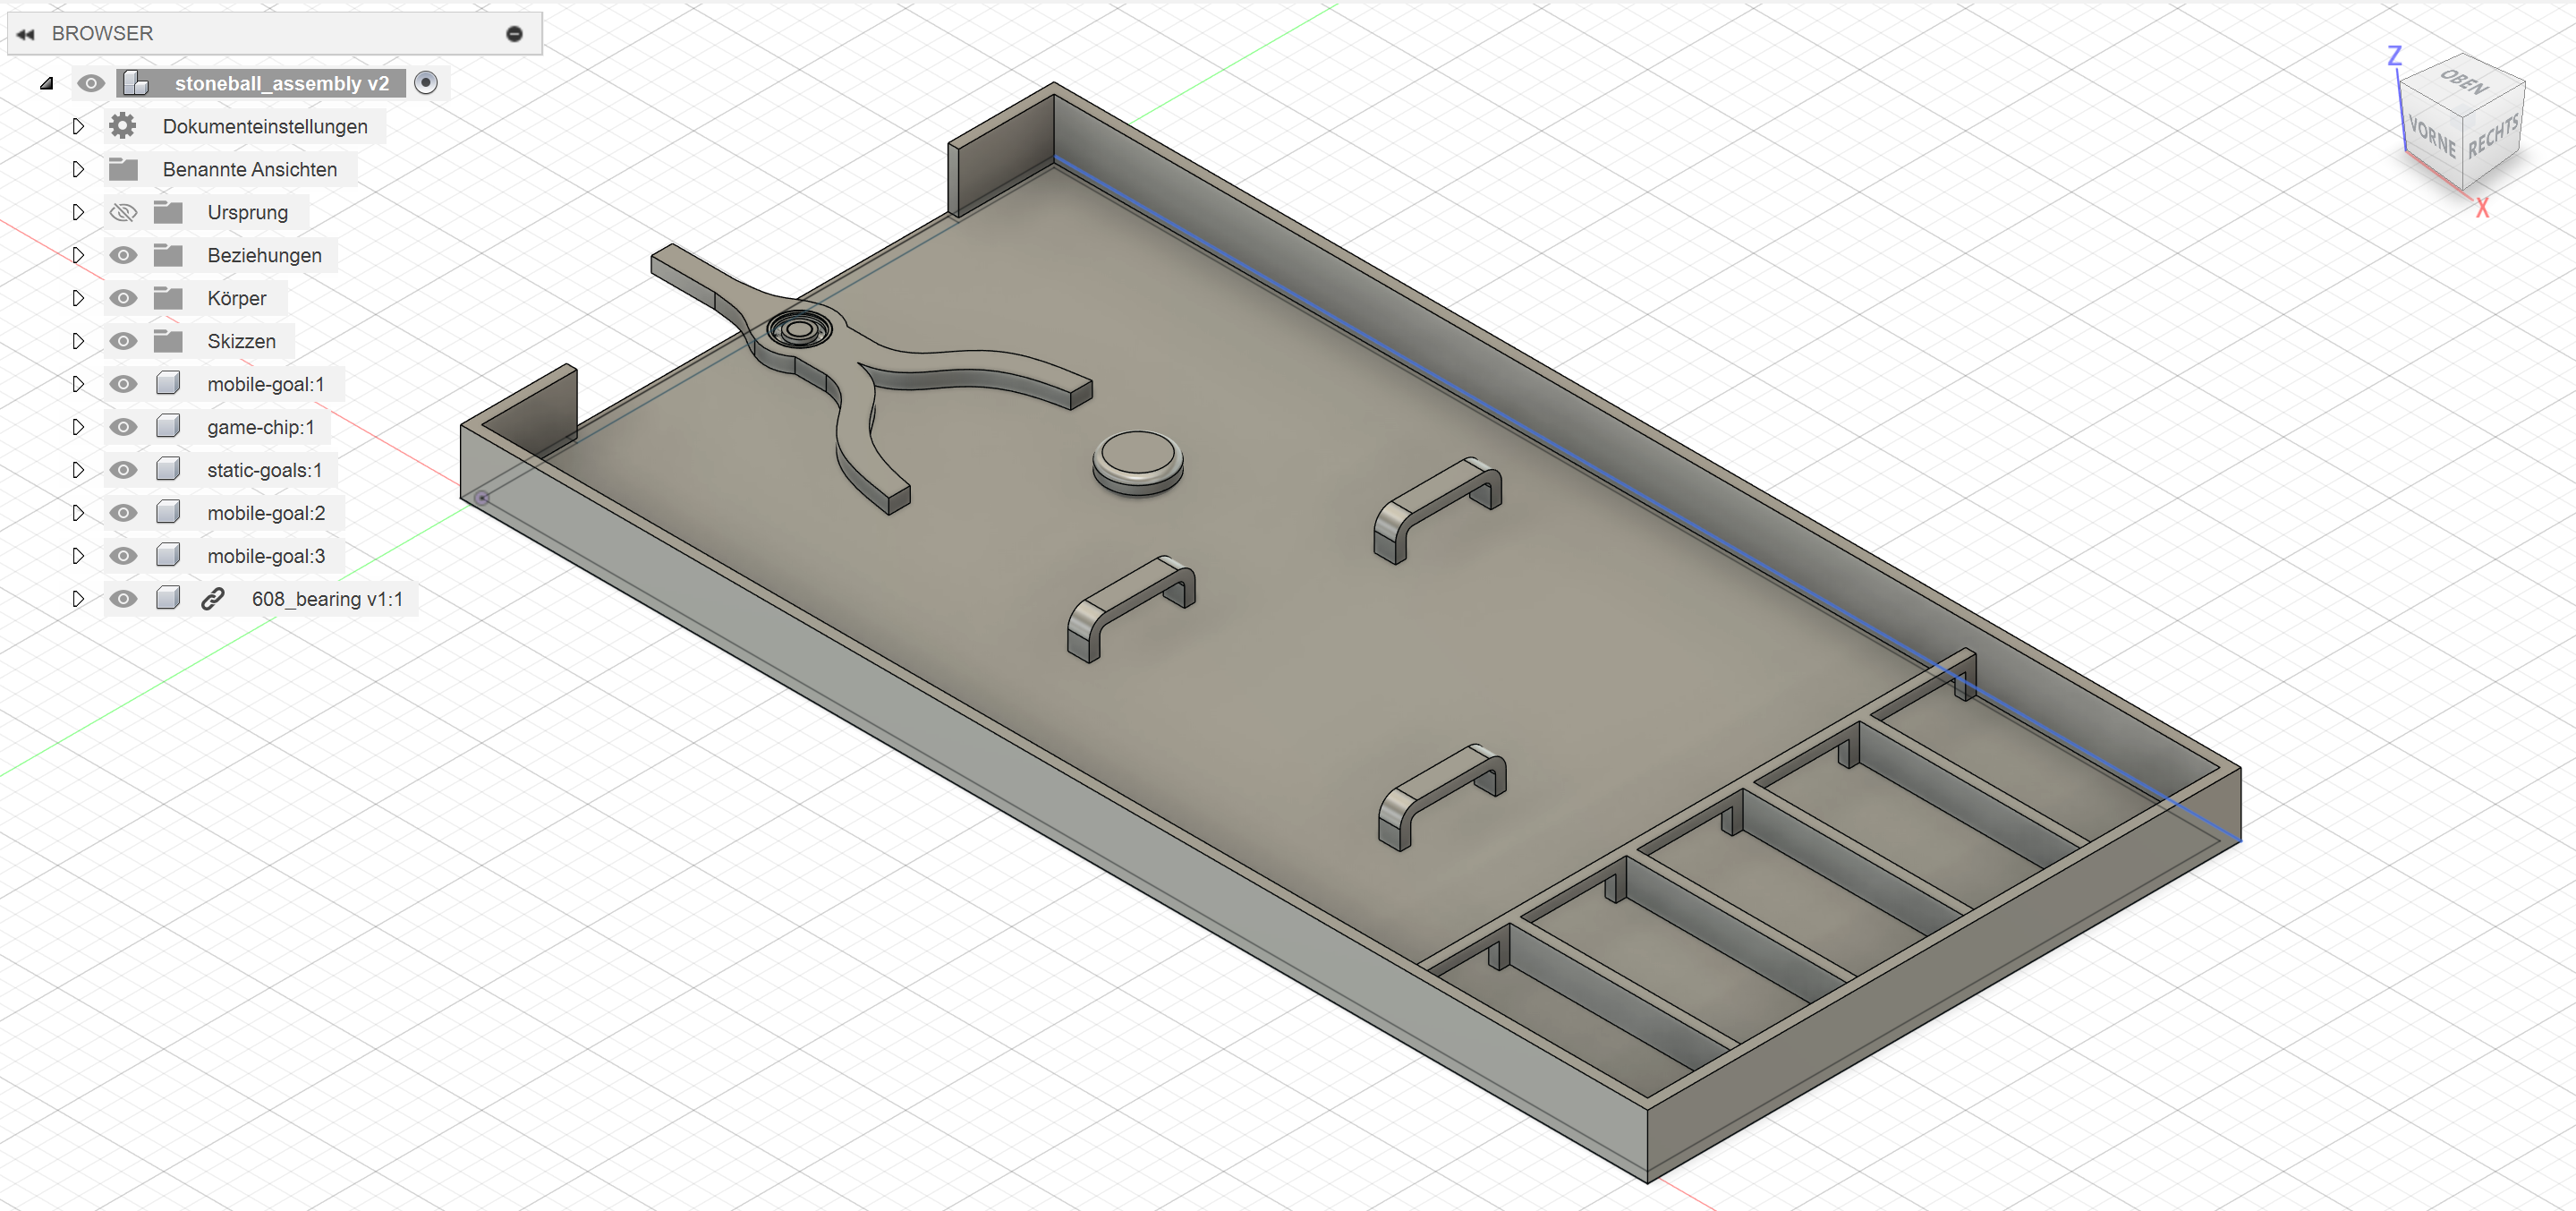 Here you can see the final design of my project. I call it Stoneball as I didn’t have enough time or creativity to think of a cooler name :D
Designing “Stoneball”
First I created a new project in Fusion 360 to put in all my versions of the game and additional CAD parts, that have already been designed by someone else (for example bearings).
I created a simple rectangle as the base for the main board. I put another bigger rectangle around the first one, so I could extrude the walls:
 picture?
Next up I modeled the goals at the end of the board by making some sketches again and extruding them.
 picture?
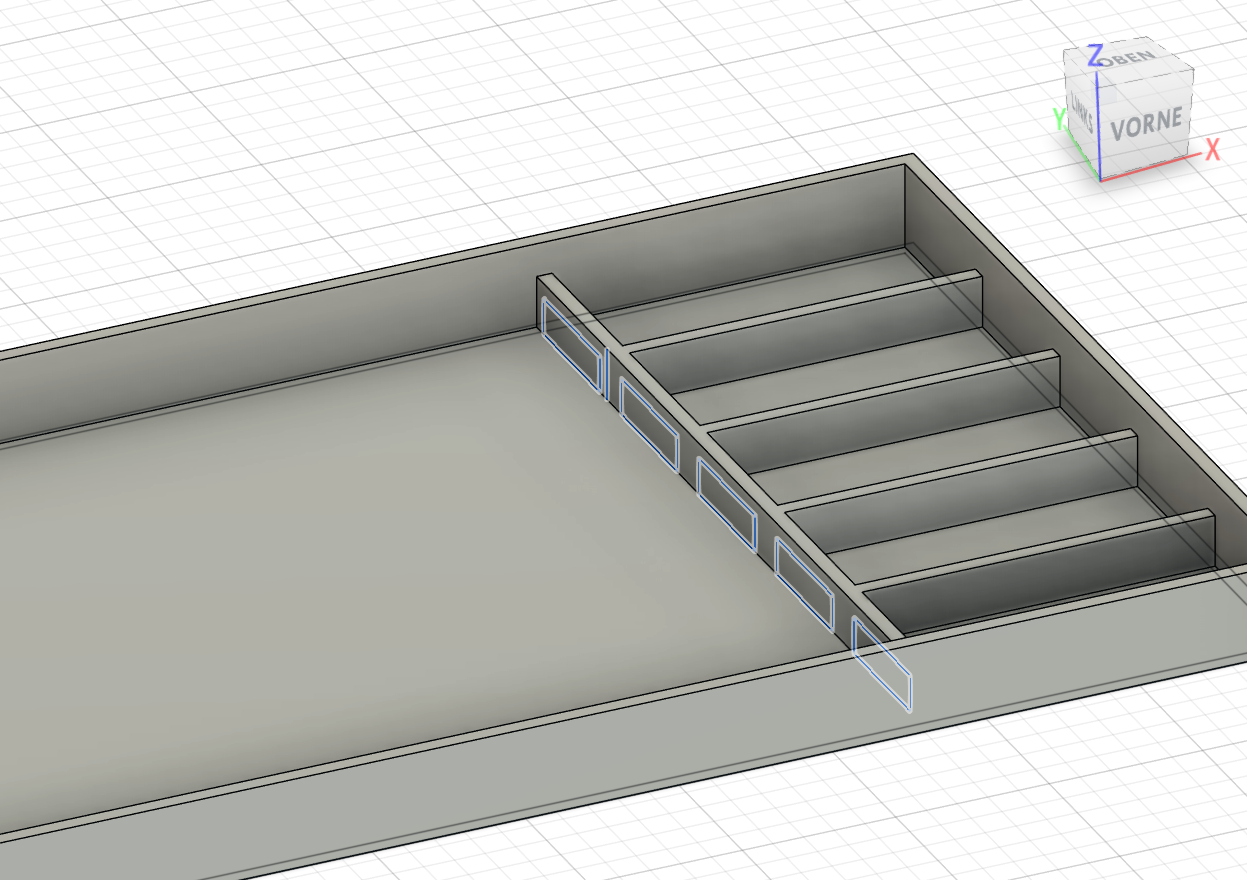
Now that the main board was complete, I started working on the movable things.
First the modular goals were sketched and extruded:
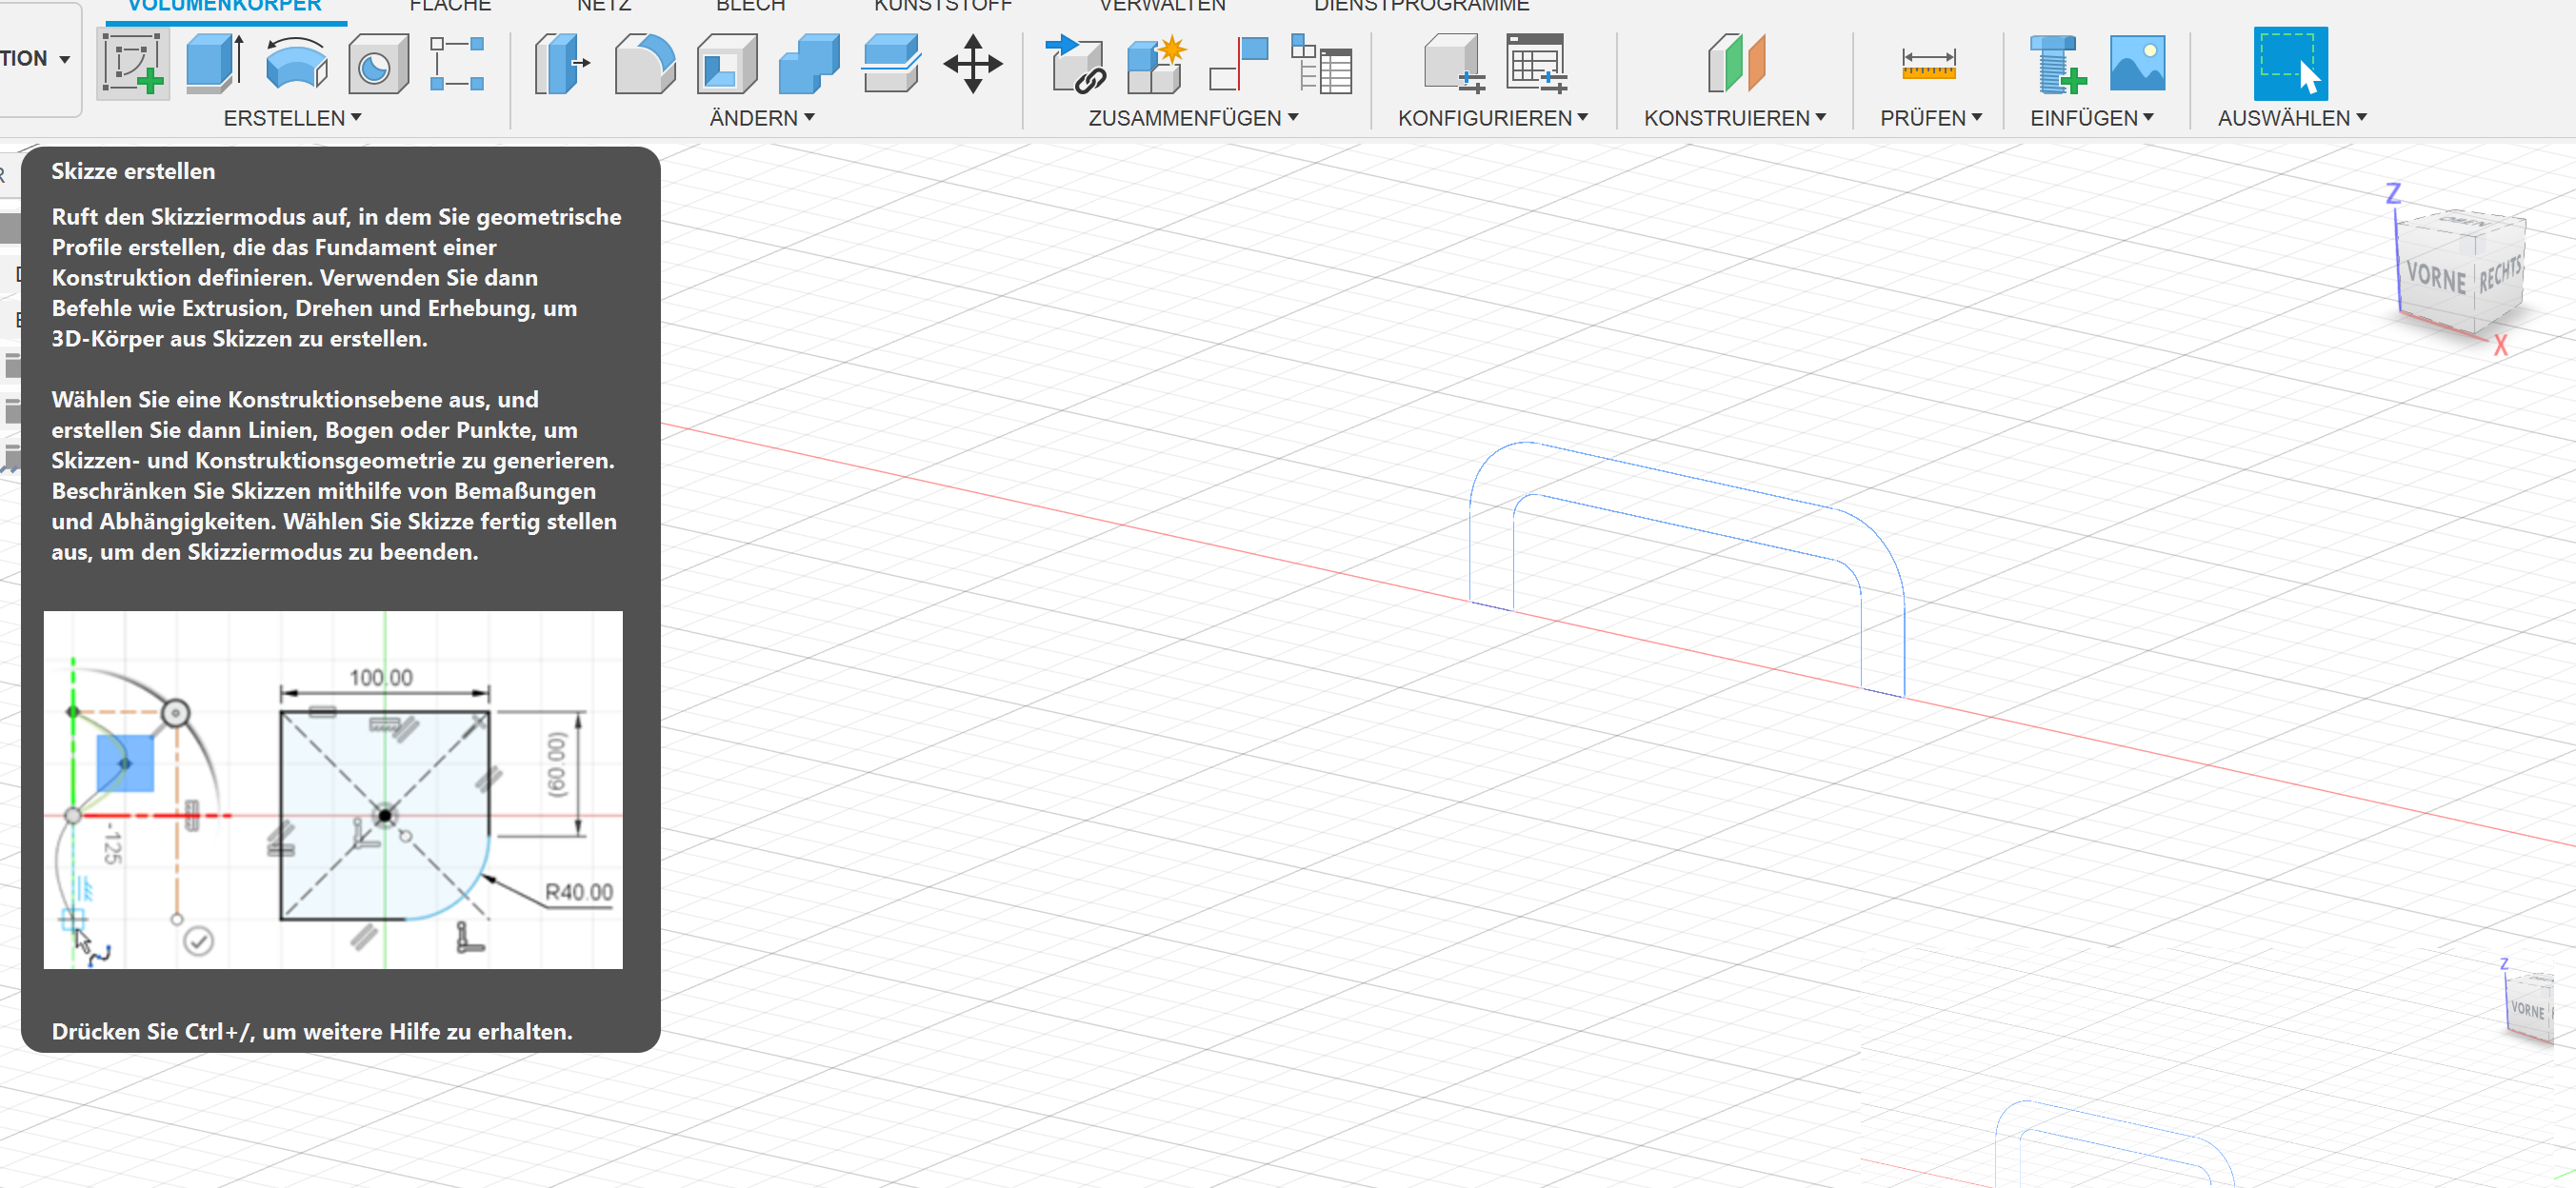 And then the “Puks” were modeled with the rotating function.
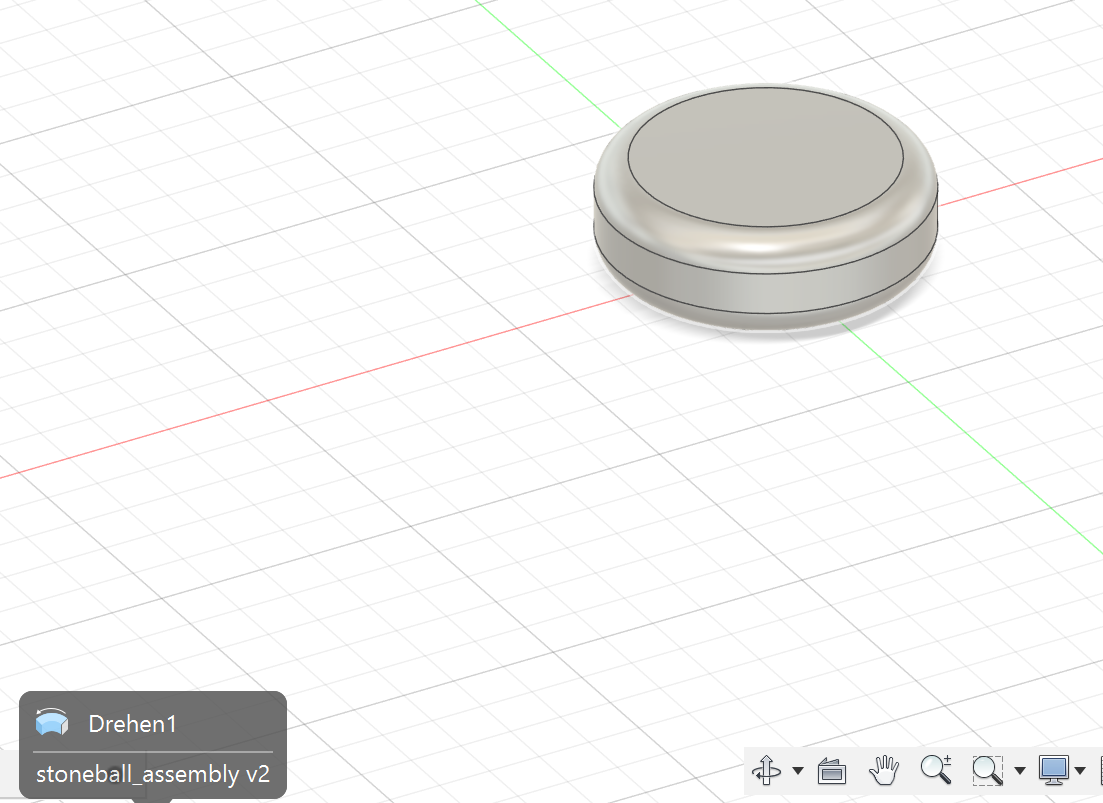 To create more of a kind you can simoly copy and paste them.
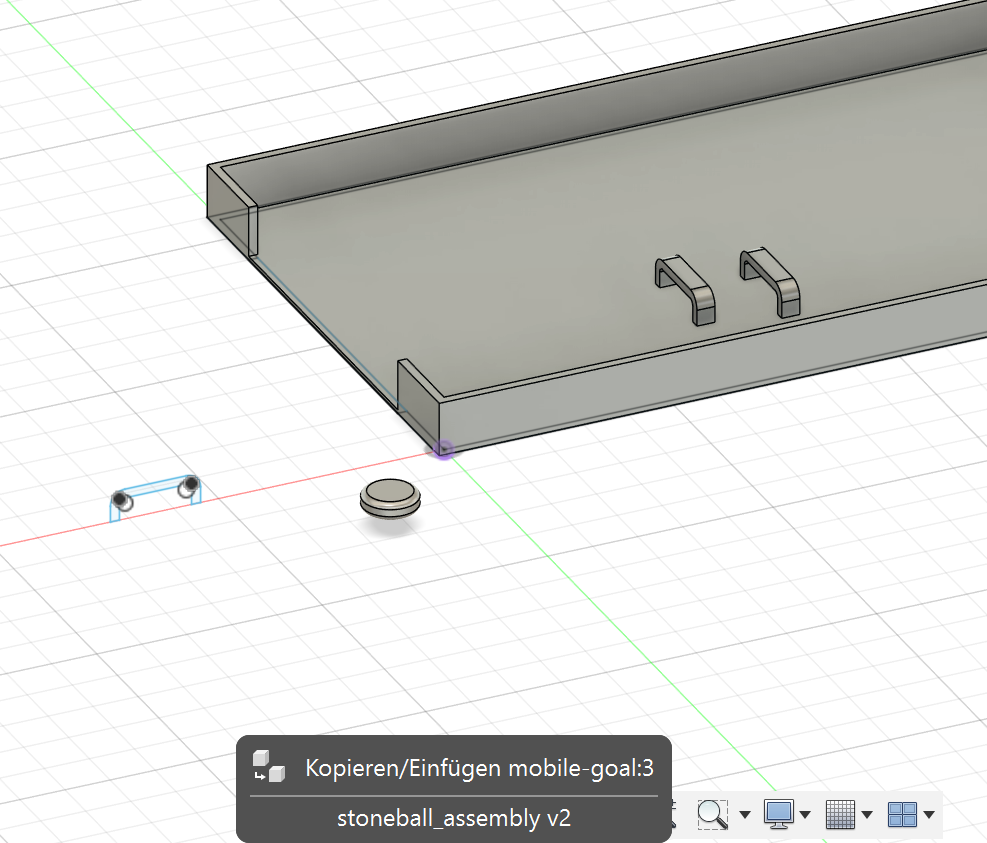
Last but not least the shooting device with the bearing, so you can rotate it was consrtructed. As it is a symmetry, you only have to design one part of it.
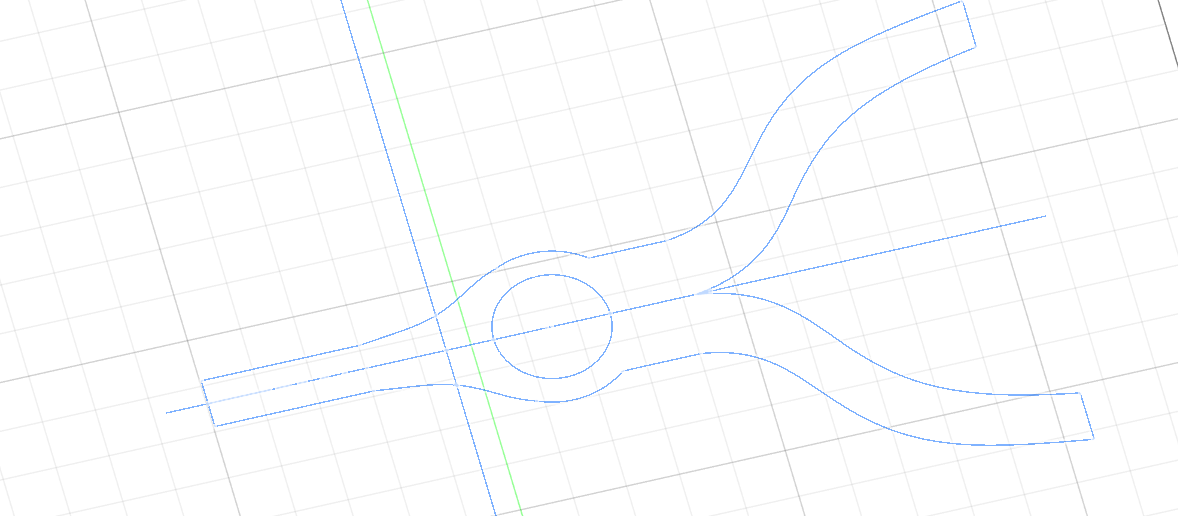
 After the form of the shooting device was modeled I wanted to extrude it, but couldn’t at first. The sketch wasn’t shown as an area I could extrude. After looking at the sketch again, I noticed a tiny gap between two lines and connected them. Now I could extrude the shooting device.
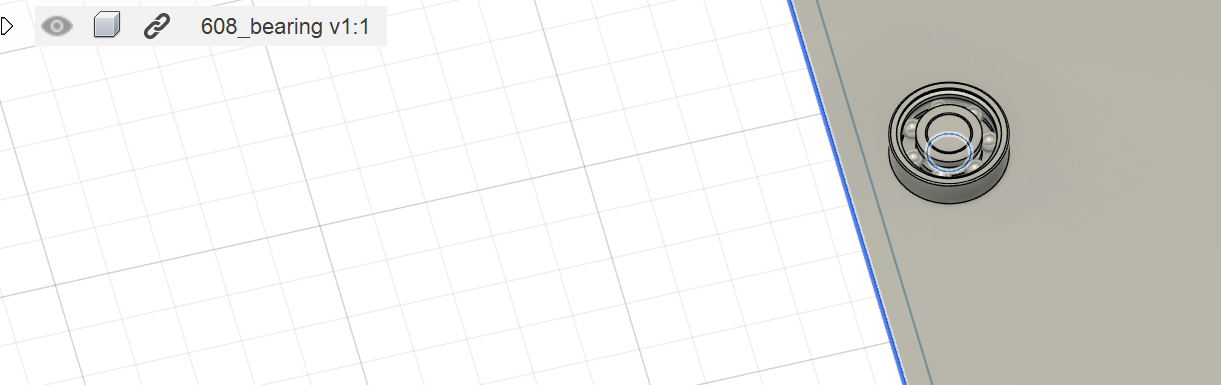
 I inserted the bearing and defined some dependencies so the individual components would stay where they belong.
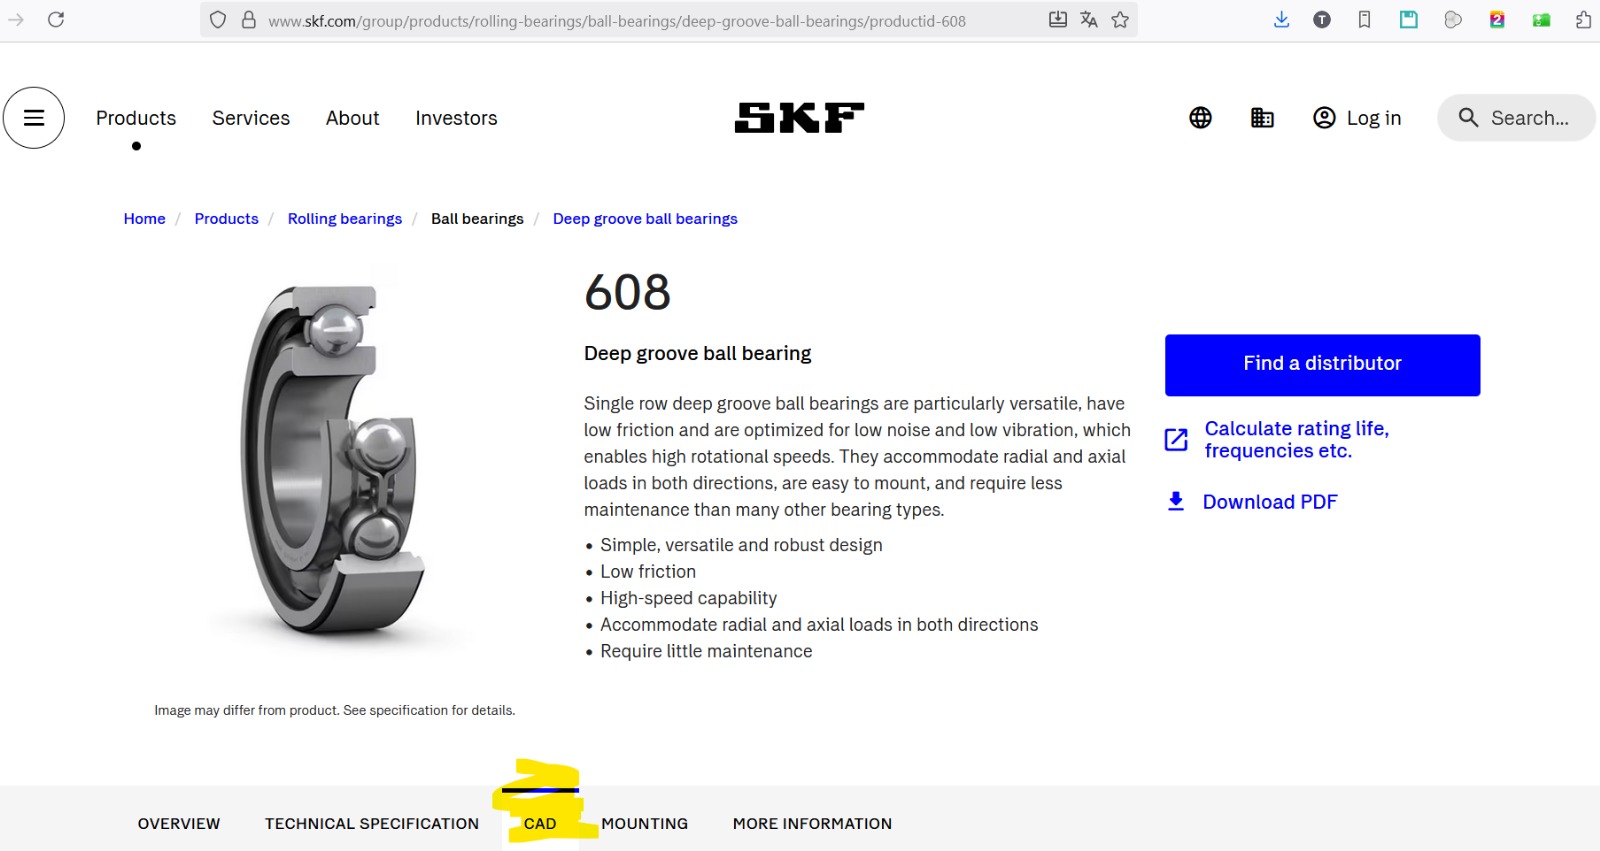
 The bearing was downloaded from skf.com:
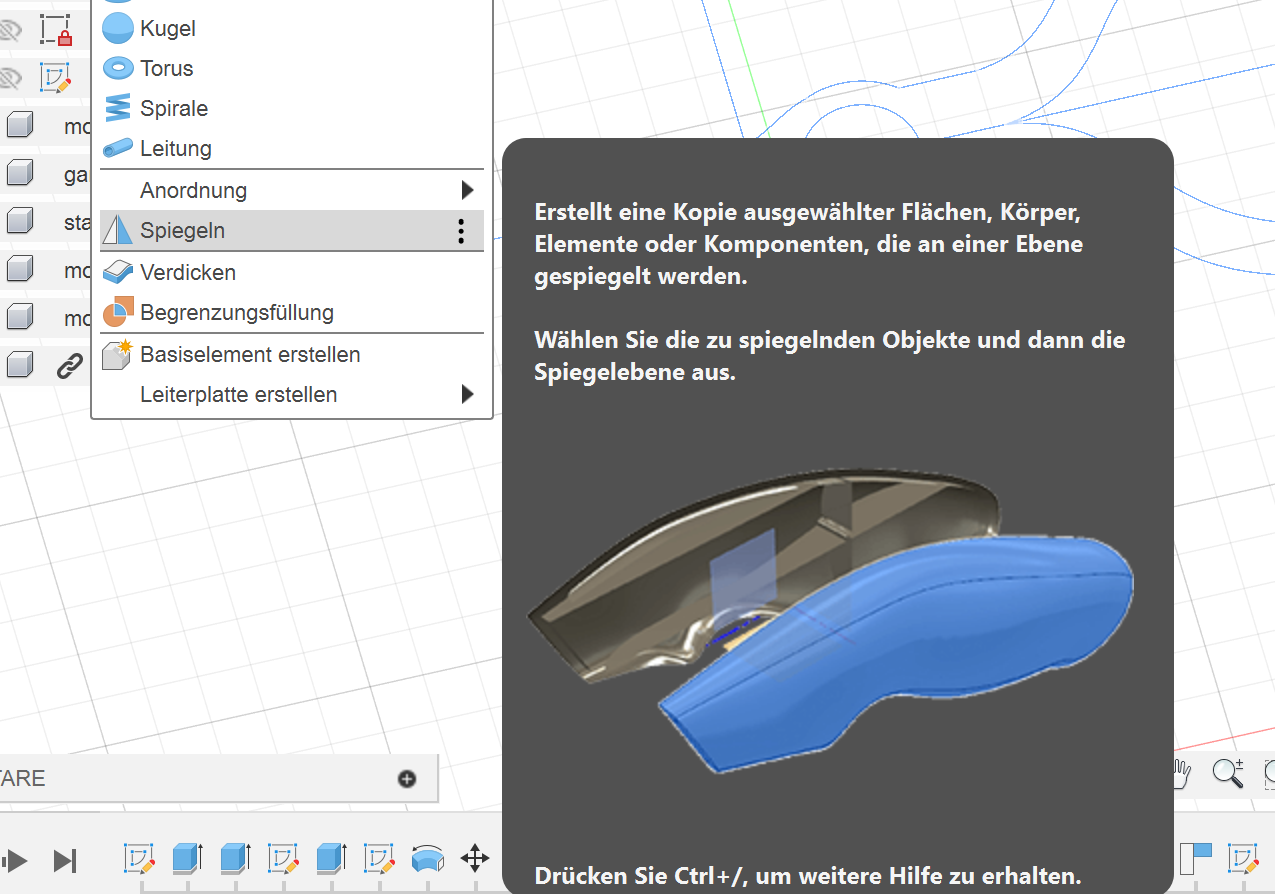
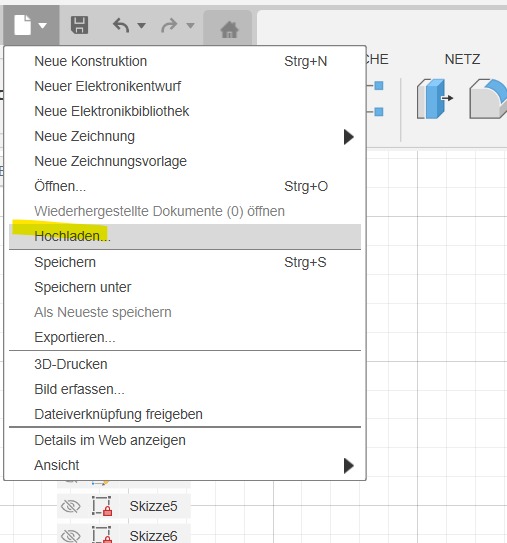
 To insert another CAD model, you go to upload on the main menu:
I added the electronic components afterwards:
Resize images and videos with FFmpeg
For the installation of ffmpeg I followed this guide. Using ffmpeg is rather simple: first, you open the cmd in the folder that contains the data you want to compress. Then you only have to execute one of the commands below:
-
variable bit rate 1080p MP3 (replace input_video to match your video file name and output_video.mp4 to desired output file name):
ffmpeg -i input_video.mp4 -vcodec libx264 -crf 25 -preset medium -vf scale=-2:1080 -acodec libmp3lame -q:a 4 -ar 48000 -ac 2 output_video.mp4 -
even smaller size keeping resolution:
ffmpeg -i input_video.mp4 -vf scale=-2:1080 -c:v libx265 -crf 30 -preset slow -tag:v hvc1 -c:a aac -b:a 80k output_video.mp4 -
even smaller size keeping resolution:
ffmpeg -i input_video.mp4 -vf scale=-2:1080 -c:v libx265 -crf 30 -preset slow -tag:v hvc1 -c:a aac -b:a 80k output_video.mp4
Those commands also work with images.
Here are more examples for FFmpeg commands.
Check out how I worked in CAD. I muted and resized the video:
The Video wasn’t shown when I tried to include it with the standard code for images:
! [] (../videos/week03/CAD_construction_compressed1.mp4)
I tried a code which I got from chatgpt, but it still shows an error for the video:
<video controls playsinline style="max-width:100%; height:auto; border-radius:10px; box-shadow:0 2px 8px rgba(0,0,0,0.2);">
  <source src="/docs/videos/week03/CAD_construction_compressed1.mp4" type="video/mp4">
  Your browser does not support the video tag.
</video>
After just playing around and changing the syntax a little, this code worked for me:
<video controls width="400">
  <source src="/videos/week03/CAD_construction_compressed1.mp4" type="video/mp4">
</video>
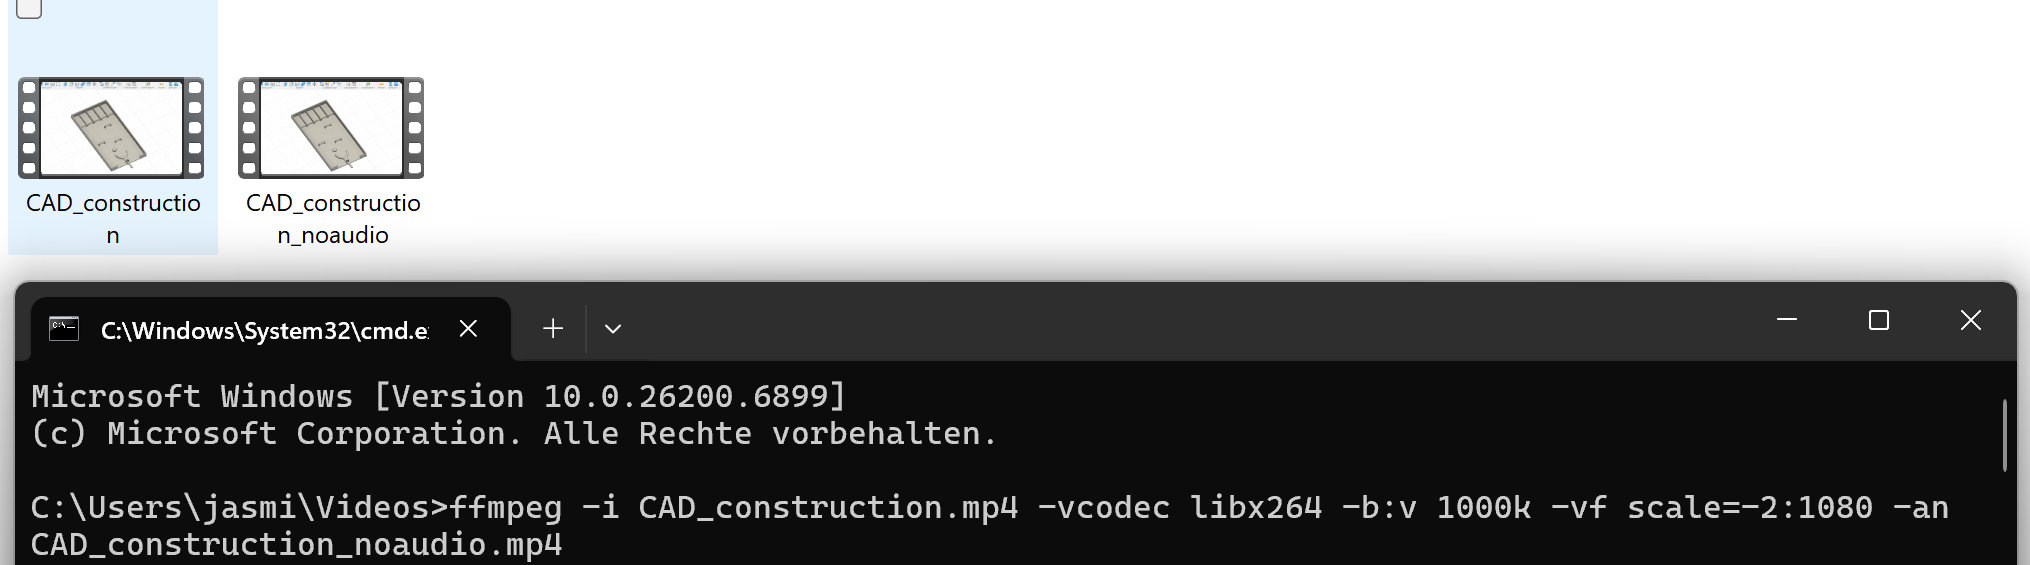
Here is how I muted the video:
And here are the sizes of the original and compressed video:
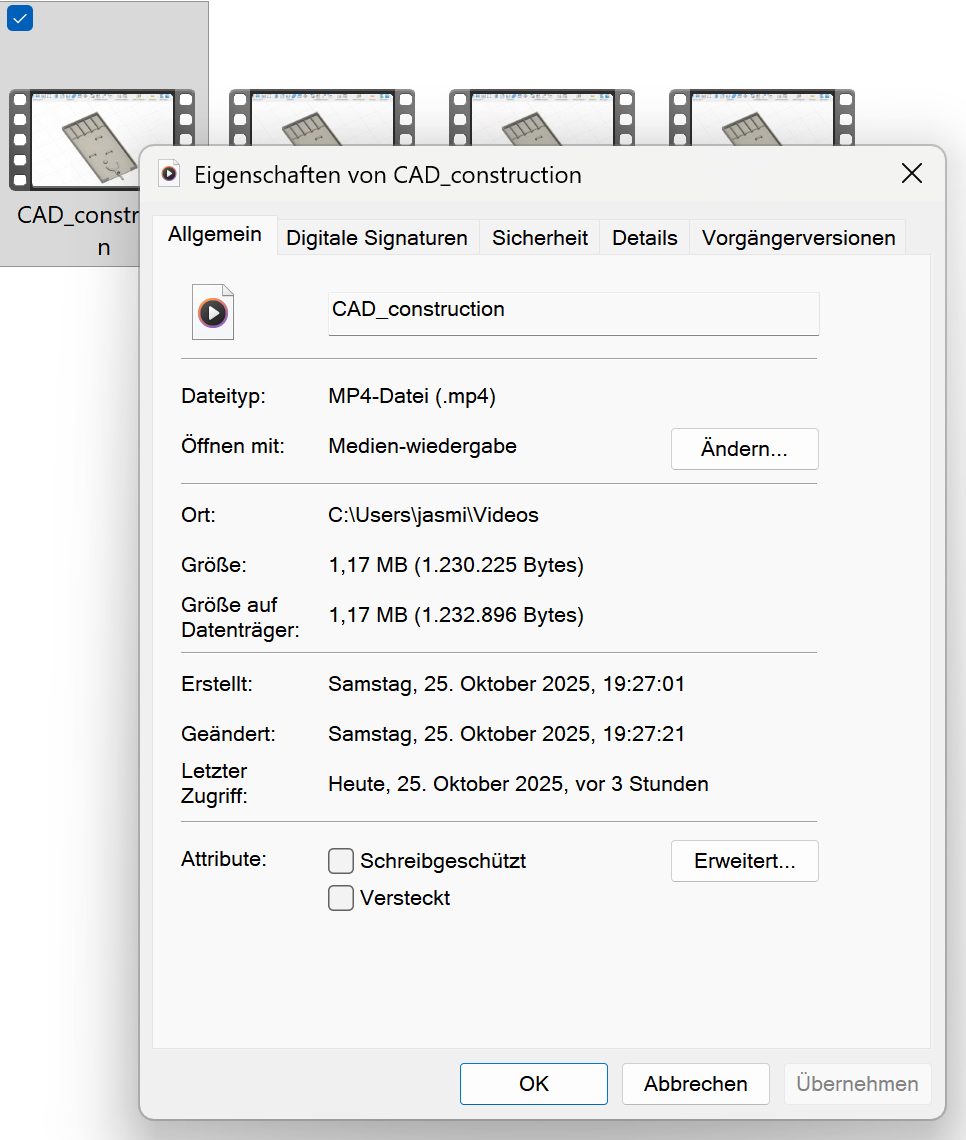
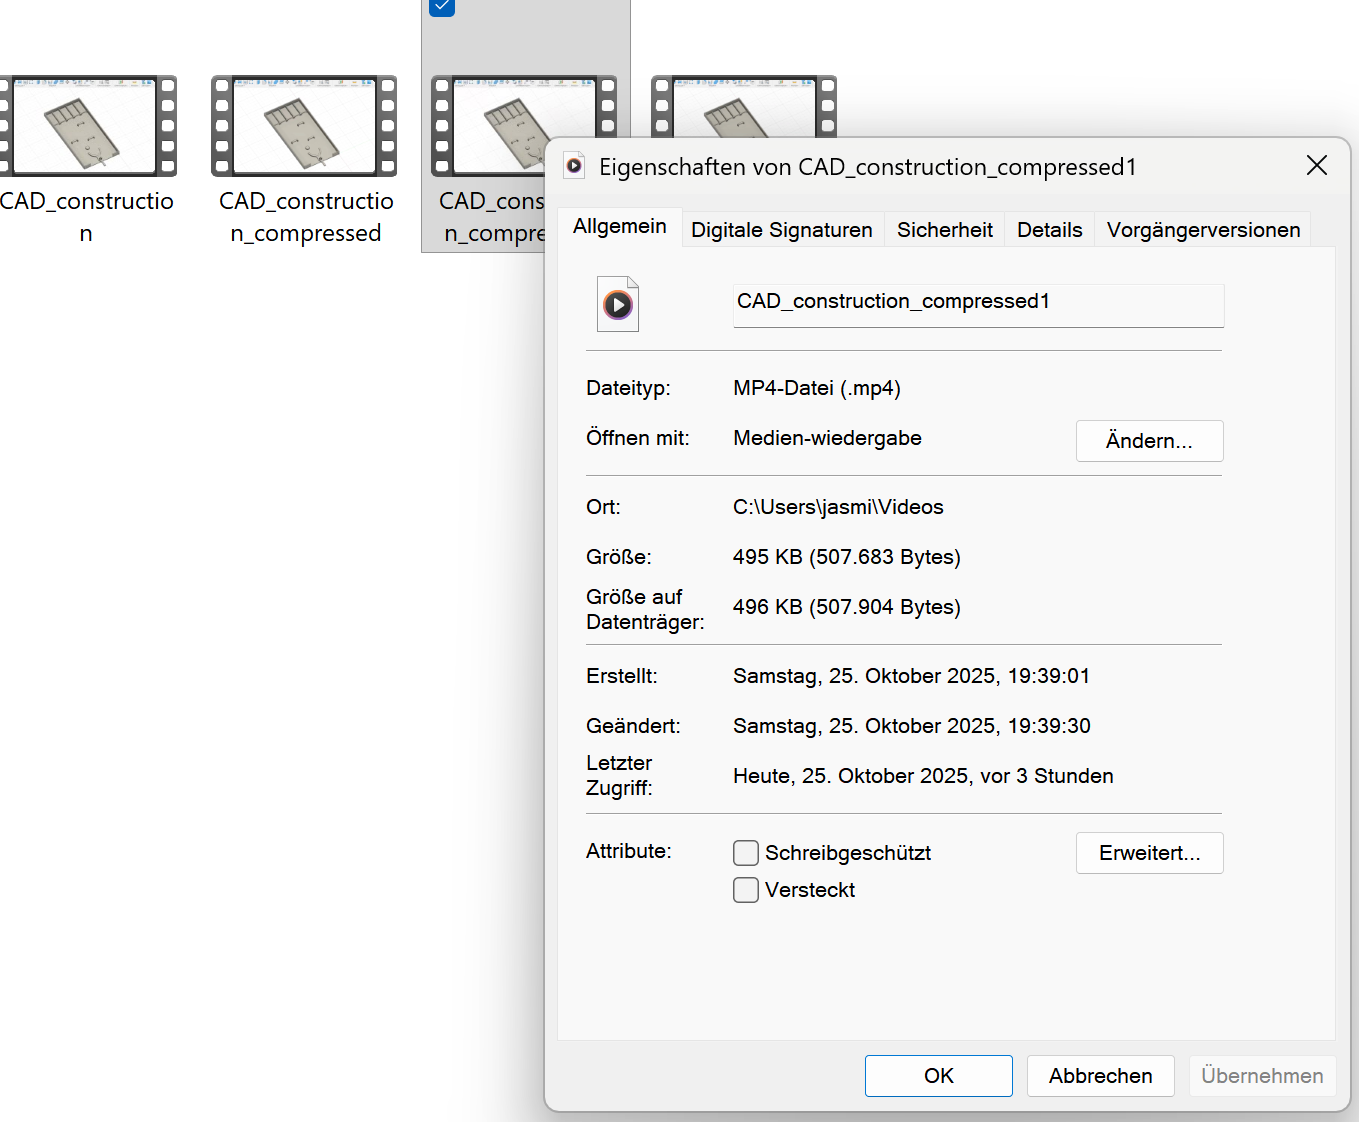
size before compression: 1,17MB – size after compression: 496KB
Resizing images
To get really small files without losing the quality, you can use the powershell-command:
mkdir compressed -ErrorAction SilentlyContinue
foreach ($f in Get-ChildItem *.png) {
    $out = "compressed\" + [System.IO.Path]::GetFileNameWithoutExtension($f.Name) + ".webp"
    ffmpeg -i $f.FullName -vf "scale=1280:-1" -q:v 80 $out
}
It creates a new folder and converts the png’s to webp.
If you don’t want a new folder, and want the png files to be overwritten, you can use the following powershell-command:
# Alle PNG-Dateien im aktuellen Ordner nach WebP konvertieren (und alte ersetzen)
foreach ($f in Get-ChildItem *.png) {
    $out = [System.IO.Path]::ChangeExtension($f.FullName, ".webp")
    ffmpeg -y -i $f.FullName -vf "scale=1280:-1" -q:v 80 $out
    Remove-Item $f.FullName
}
If you want to convert other file types than .png just replace .png with the desired file type. Note that if you want to copy paste the command and change something to do it in the powershell and not cmd.
Note: The last two commands are from chat-gpt. I had the problem that the png files compressed were bigger than the original files and asked, what else I can do to really get smaller files.
If you want to change the literal size of all pictures (exp. webp but also works with .jgp and .png) in the folder use:
mkdir resized

Get-ChildItem *.webp | ForEach-Object {
    $input = $_.FullName
    $output = Join-Path -Path "resized" -ChildPath $_.Name
    ffmpeg -i $input -vf "scale=200:-1" -q:v 90 $output
}
Example: | image size before | image size after compression | | 124KB (jpg) | 40KB (webp) |
Link to the models
- Autodesk Fusion 360 stoneball_assembley
- Inkscape stoneball_2D.svg